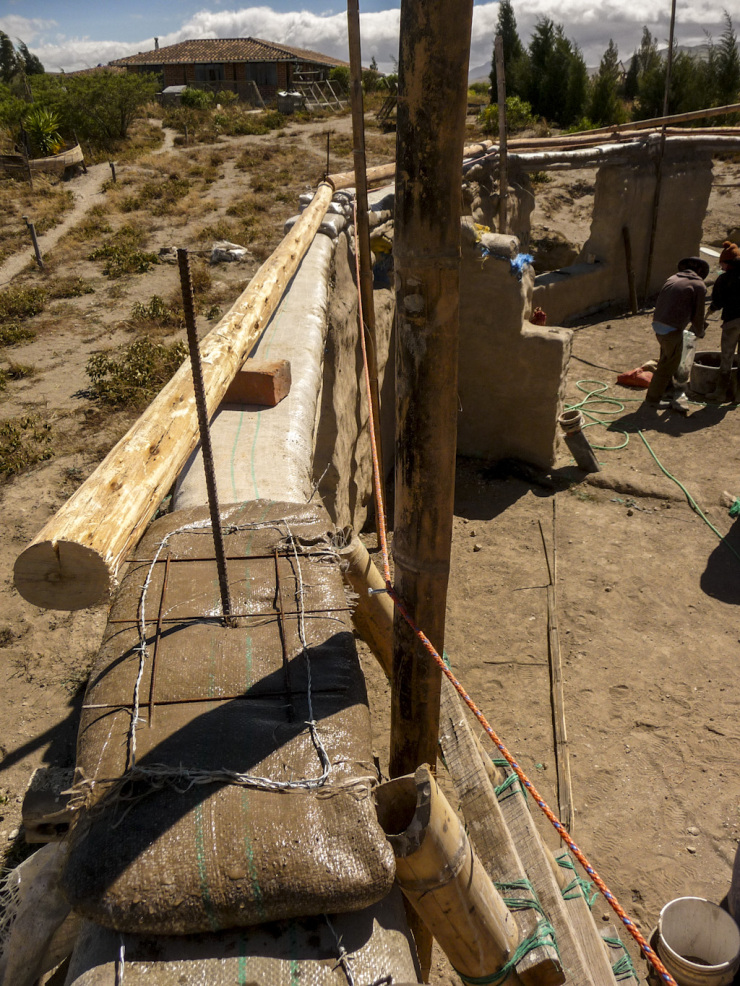
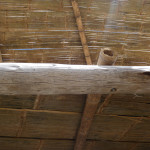
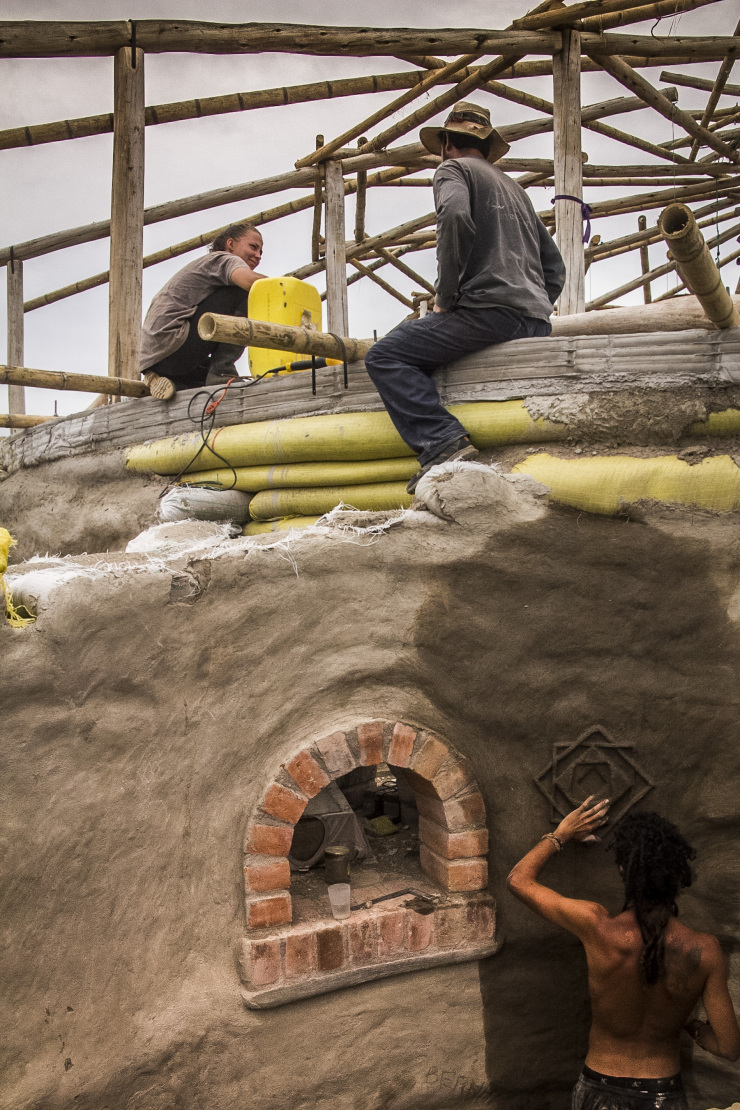
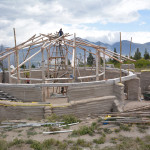
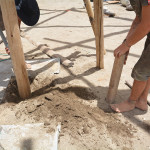
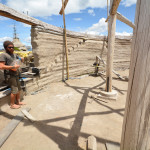
For the circular hall we poured a reinforced concrete bond beam on top of the walls. Its the strongest method and allowed us to add connection points for the 24 columns that sat on top. For the outer wall this seemed like overkill. The function of the bond beam firstly to tie the walls together, and secondly to allow for connection points to stop the roof lifting off. We decided that the outer wall is strong enough thanks to the curved wall and additional buttressing, so we just needed a roof connection. Multiple 5m wooden beams were attached to the top of the wall using concrete foundation bags (pictured), two bags with reinforcement between and rebar driven down into the wall. The roof beams will be bolted down to this wooden beam.
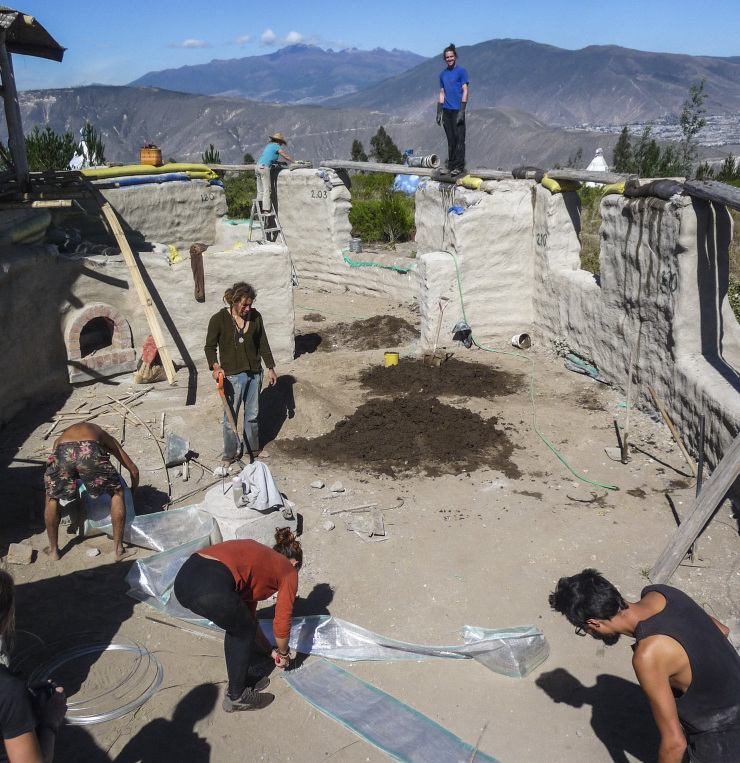
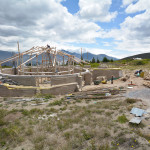
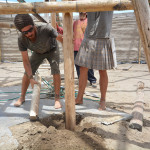
We enlisted the help of the whole community for a couple of days to finish two rows of bags above the lintels. We stabilised the earth with 5-10% cement for a little added strength, so now we have 2 foundation rows, 2 middle rows under the windows, and 2 top rows above the windows; all with stabilised earth.


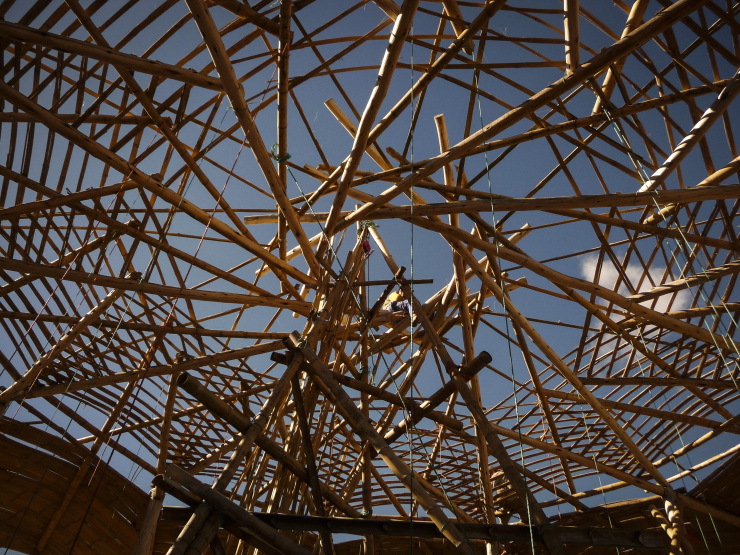
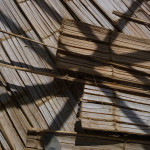
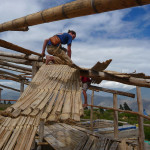
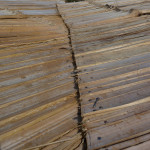
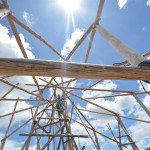
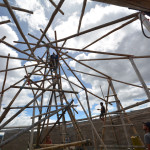
Split/ open bamboo (guadua) was bent over the bamboo beams onto the eucalyptus beams to create 12 shallow barrel arches. Next we’ll be putting a layer of ferro-cement and light weight pumice concrete, so the arch shape ensures the concrete is in a compressive shape. Although the arches are far too shallow to function independently of the underlying structure, the shape is still desirable over a flat span.


To connect the bases of both sets of outer reciprocal beams (eucalyptus and bamboo) to the bond beam. Oh and some adobe artwork from Oscar.

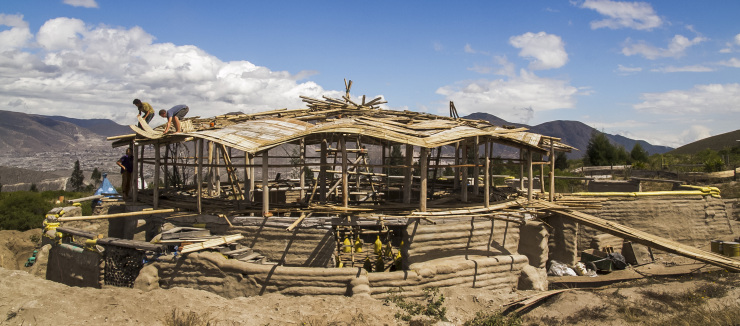
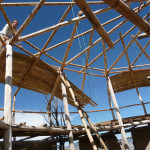
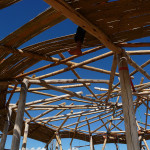
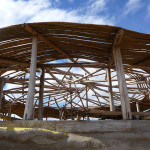
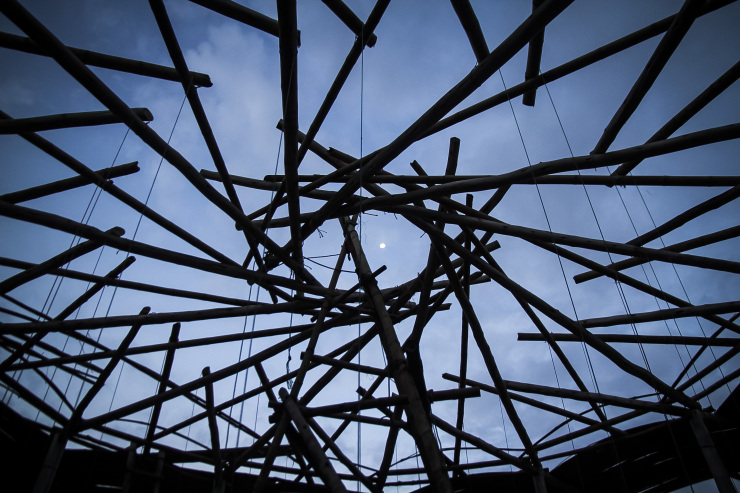
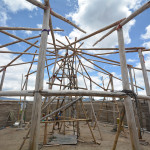
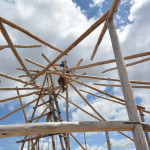
To fill the large spaces between the Eucalyptus beams, we built another double reciprocal roof offset from the first using bamboo. This was easy as we already had the shape, pitch, and support of the wooden beams below. The bamboo beams are not yet connected to the wood, only to themselves. We will put in columns next, to the concrete bond beam, to raise the bamboo structure slightly and then we’ll weight down the bamboo to touch the eucalyptus. With the Bamboo structure slightly higher than the Eucalyptus structure, the cladding will create 12 shallow barrel arches, it should look a bit like a circus tent, or a hot air balloon, or a shell, we hope.
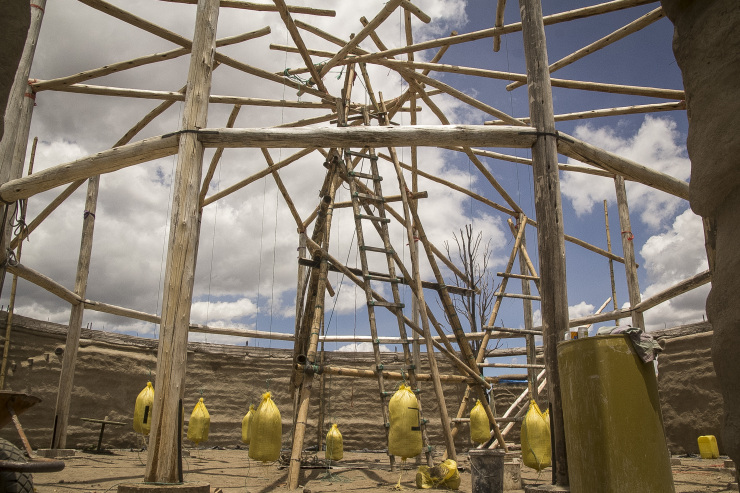
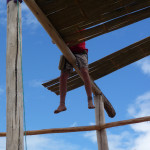
We hung 50kg earthbags from the tips of each of the outer reciprocal beams for a few reasons.
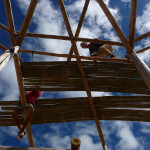
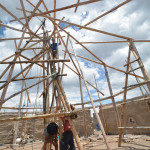
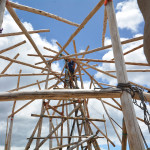
Firstly it raised up the back end of outer reciprocal beams, which are connected to the columns with a joint that allows them the see-saw, thus lowering the tips onto the inner reciprocal beams to create the double reciprocal structure. This allows us to put in 12 outer columns from the bottoms of the beams down the the concrete bond beam.
Next, it pre-stresses the structure. We plan to use ferro-cement to cover the roof but the weight of the mortar will compress the structure during application, so we are pre-stressing to achieve the final shape and removing the weights as we lift the mortar.
Finally, it is the first step in testing the strength of the roof. More weights will be added later.
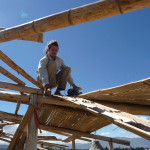
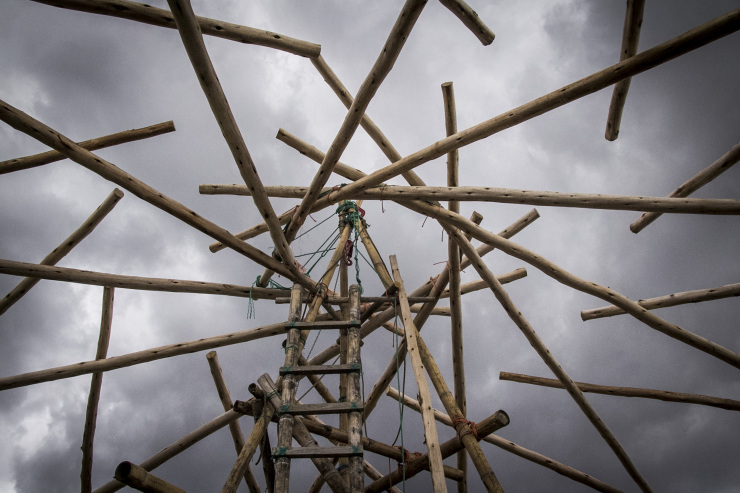
We connected the tips of the outer beams with the inner beams using two 7″ nails in each connection, they will also be tied with thick wire.
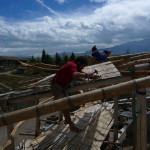
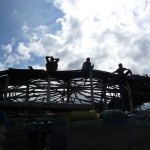
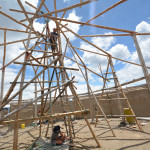
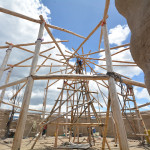
With extra supports on beams 1, 5 and 9, removing the Charlie stick was as easy as opening the legs to lower it down. The next 2 hours involved a process of lowering one support at a time to slowly lower the first reciprocal beam onto the last so that they all support each other. On beam one we had a car jack which could be lowered easily. Supports 5 and 9 required a little extra love, which involved digging an inch deep hole next to the base and kicking it in so that the other two supports took up the slack. This worked well, at all times 2 of the supports were taking the weight of the beams, so we worked around each one, lowering them a bit at a time until the first beam sat in the notch of the final beam. Then, with a little more lowering all three supports came free and the roof is reciprocally supported.
We then used one of the supports and the jack to raise the beams where necessary, allowing us to twist and reposition each beam slightly, using the level lines that were drawn on the tips during preparations to get all the notches in the right places.


© 2026 Another Bag in the Wall | Theme by Eleven Themes