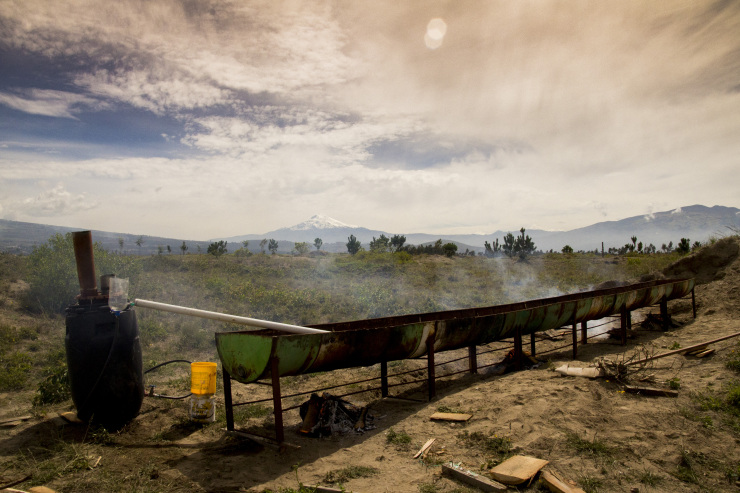
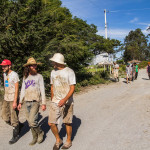
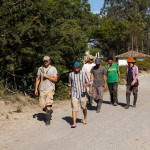
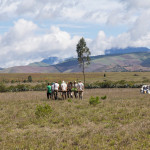
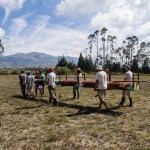
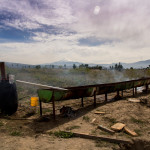
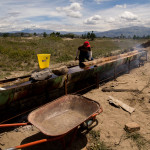
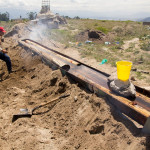
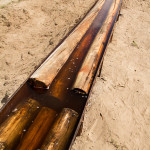
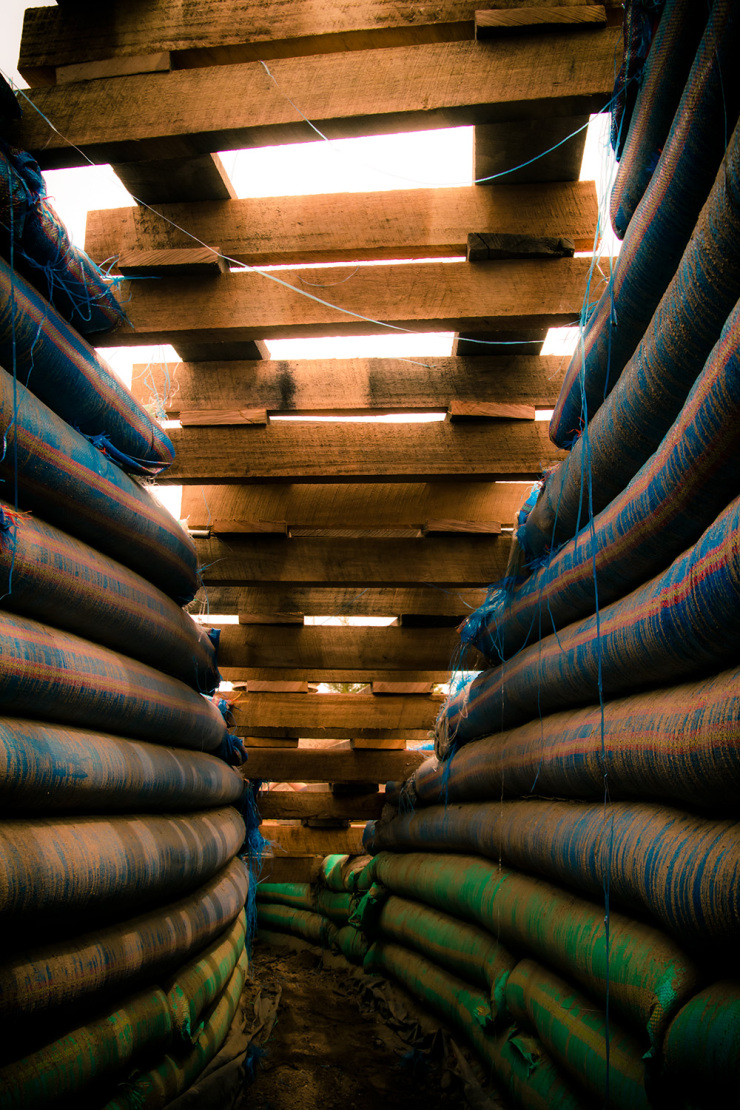
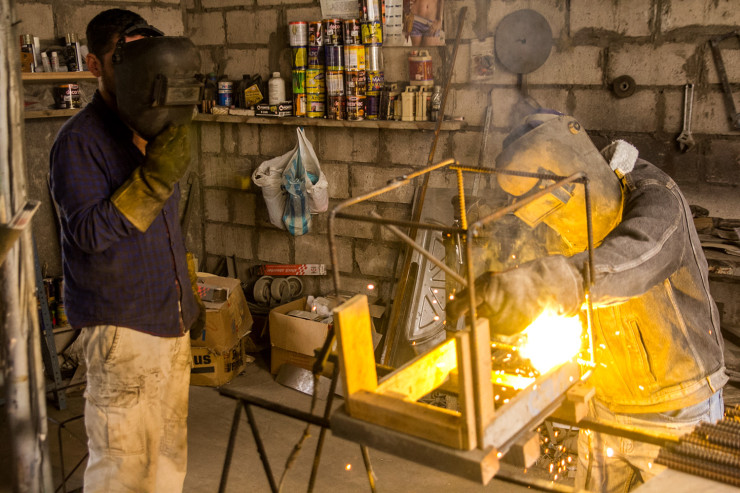
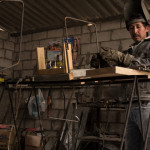
The original idea was to simply paint the columns with borax dissolved in water, and we did this a few months ago with our lintels which (compared to untreated wood on site) still look brand new and mold free. This was until we learned that the neighbour had am 8m long half-barrel trough that he made for treating his own beams a few years ago. So a team of us headed across the fields to fetch it.
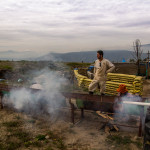
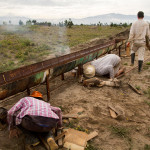
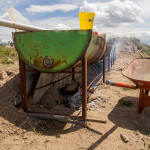
We soaked all of our wood in a mix of 15kg Borax, 10kg Boric Acid and 200l water, heated to around steaming temperature. We crammed as much wood into the trough as possible, and any wood that wasn’t underwater was rotated each day to ensure all wood had its time submerged. We also took the opportunity to scrub mold off the wood that had already grown.
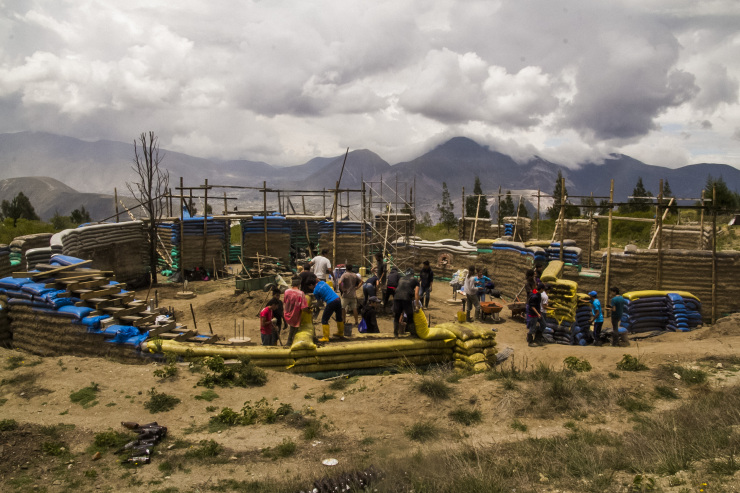
A school group of 33 kids came from Quito to help us for the day, we split them into groups and had some mixing soil, some smearing it on the walls, some filling buckets and others filling earthbags. The school has had its first class, and it was inspirational for all involved. Read a bit more about the day here
Living in a region which receives regular, heavy rainfall for part of the year, it is necessary, or at least preferable, to add an additional protective plaster layer over the adobe, which, if left untreated, will get washed away by the rain. The ideal, and traditional, material to use when working with organic materials is lime. Lime reduces water penetration, while allowing water vapor to escape, whereas cement allows higher quantities of water to enter while preventing transpiration of water vapor. This means that cement-covered walls of organic material will be given to rotting and mold, while lime plaster protects the sensitive organic materials within.
To obtain lime plaster, limestone is mined from the earth and fired at very high temperatures, a process during which CO2 (carbon dioxide) is driven out of the limestone, creating what is known as “quicklime”. When quicklime is added to water, a process known as “slaking”, it is converted to a substance known as “hydrated lime” or “lime putty”. When this putty is combined with sand and applied to a wall as a mortar, another chemical reaction occurs in which CO2 is reintroduced to the substance (making the process nearly carbon-neutral!) and over time it will revert back to limestone.
It took us ages to hunt down a source of quicklime, but we finally found it recently. We’re now in the beginning stages of applying lime plaster to our walls, and we’re learning as we go, so a bit of experimentation is required. But basically we apply two layers, the first being made with a slightly coarser sand, and the second, to be applied on the following day, made with a finer sand. Both mixes are prepared using a ratio of 3:1 sand to lime putty. This is the ratio that most sources recommend, and in our own experimentation it proved to be the best. We apply the lime using trowels, and after the first coat has been applied, we use the trowel blade to make hatch marks all over it, which gives the next day’s coat something to grab onto. As the lime dries, it starts to harden and give the wall a beautiful finish. Once completed, the next step will be to make a lime wash which will paint and further protect the wall.
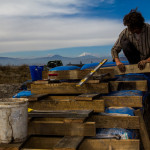
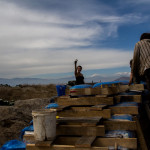
We have started building the staircase which will lead up to a balcony between the columns and the walls. The stairs are currently held together by their own weight so the job is a tad precarious in the wind, but next the beams will be pinned into the walls using rebar nails. One day this will be the entrance to a chocolate factory.
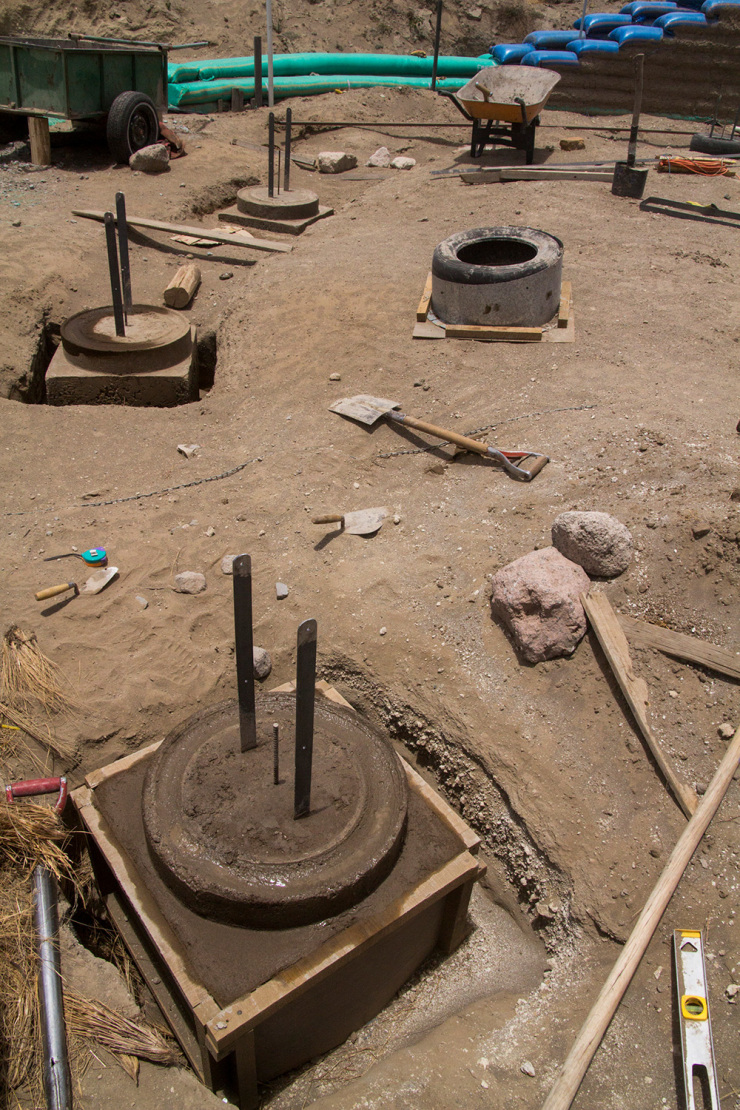
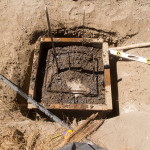
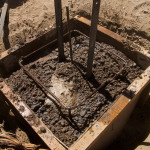
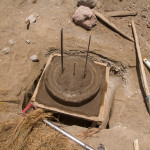
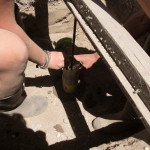
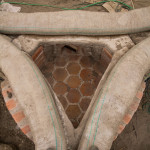
After pounding boulders into the bases of the holes, leveling the box forms and positioning the rebar cages, we started pouring concrete; lots of it. We decided to go with a weaker mix of 1:3:6 (cement:sand:gravel) for the concrete in the box form, because we’re looking for weight rather than strength and we don’t want to use more cement than necessary. For the circular pedestal on top we used a stronger mix of 1:2:3. You can also see in the photos two flat iron tabs, these will be bolted to the columns to add some lateral strength. Although most of the strength will come from the structure above, these will help reduce problems during construction.
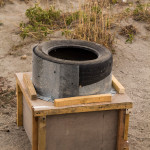
The final job was to keep the whole thing wet, spraying them down every hours or so in order to cure the concrete. The circular pedestal form we used was made from an old tire, which left an indented moat around the top of the pedestal, this was a happy accident as it kept the concrete wet lot longer and helped cure the concrete.
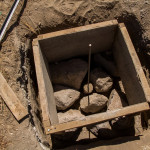
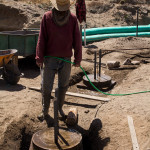
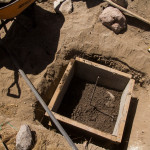

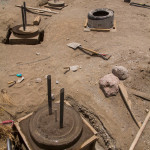
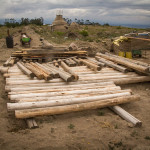
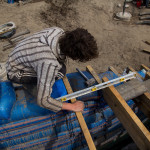
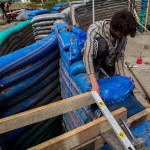
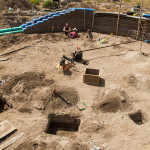
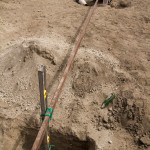
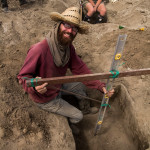
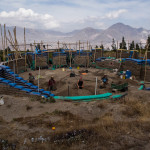
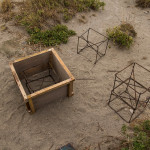
We’re going to be raising the 12 main columns soon, but first there were some preparations needed. Digging holes, bending and welding reinforcement rebar, building box and pedestal forms, measuring and leveling. We decided to concrete 12 pieces of rebar in position to start with, like mini columns, these will be used as reference points to position the box forms and will eventually stick out of the foundation block and into the bottom of each column. Each bar had to be exactly 5m from the centre of the circle and 2.59m from each other. Needless to say we we’re very happy when we reached the final bar and it measured exactly 2.59 from the first.
Pronto levantaremos las 12 columnas principales, pero primero hay algunos preparativos necesarios. Cavar hoyos, doblar y soldar varillas, medir y nivelar.


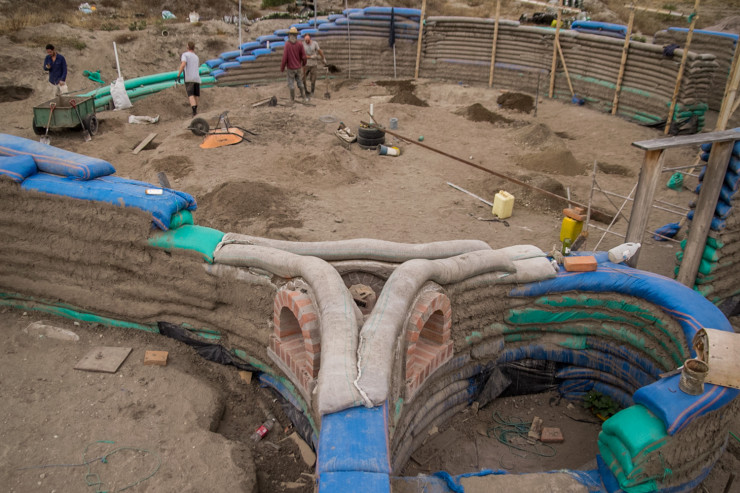
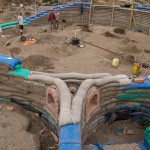
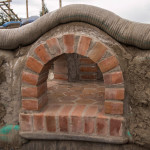
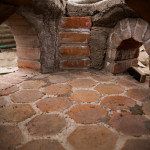
ireplace, but we also included an access hatch into the main hall. When the walls are a little higher we’ll install a metal hood and chimney.
La sala de estar y de juegos comparten una chimenea, pero también hemos incluido una escotilla de acceso a la sala principal. Cuando las paredes sean un poco más altas vamos a instalar una chimenea.

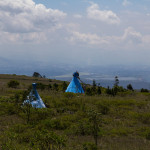
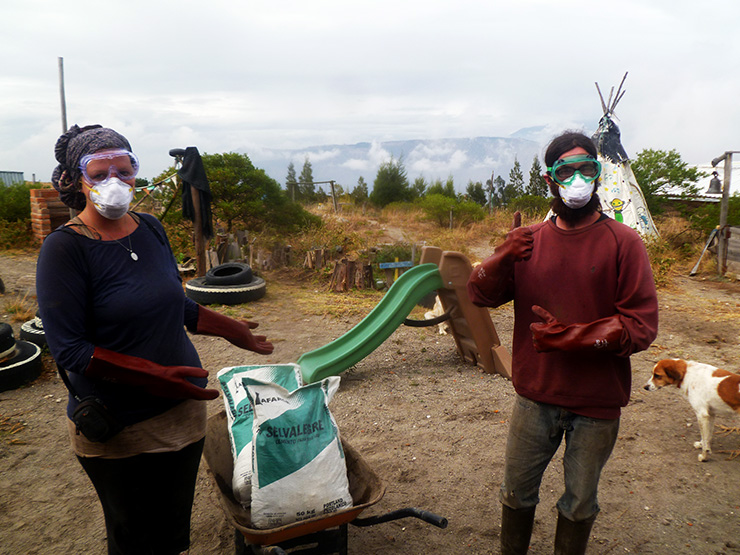
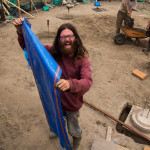
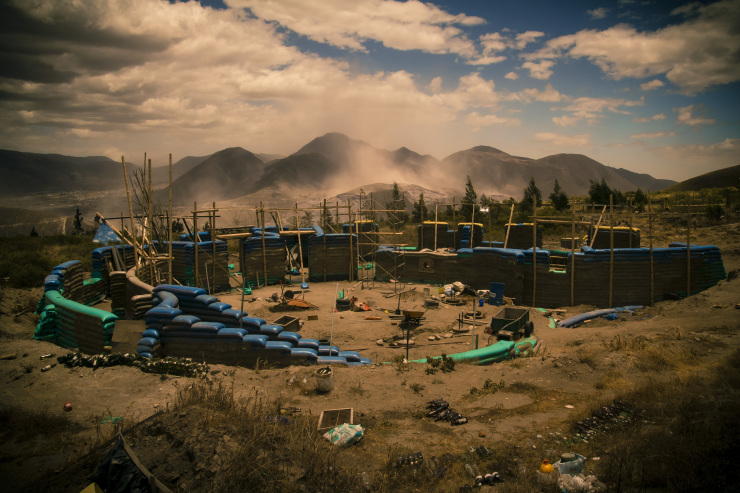
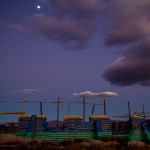
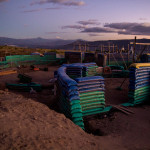
Introducing, yellow bags!
Les presentamos, sacos amarillos!
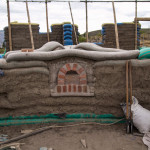
The next step after constructing earthbag walls is to coat them with several layers of adobe (also known as “earthen plaster”), which is made from clay and some type of straw. This is done to provide additional protection against the elements, in addition to creating a flat surface, as opposed to the rigid one created by the earthbags. When properly applied, adobe is resistant to mold, vermin, and UV rays, and it’s durable and long-lasting.
Adobe can be made of different materials depending on what’s available where you live. We experimented with various types of materials in our search for the right recipe. The land here at our farm contains a thick layer of a clay-like soil which we use as our base, and for straw we use pine needles, which we collect from an adjacent pine tree plantation. A mixture is made from mostly clay and some pine needles, to which water is added until a fairly wet, but not drippy, consistency is achieved.
We then go to work at slapping the adobe on the walls by hand, beginning by filling up the crevices between bag layers, and once this coat has partially dried, covering the surfaces of the bags. Additional coats may be necessary at times to finish with a flat surface. This is a continuous process throughout the duration of the building project as more and more walls are being constructed and raised.
© 2026 Another Bag in the Wall | Theme by Eleven Themes