We invited Architect Juan Alfonso Peña to visit the site one day. He’s been building natural homes for quite some time and had lots of advice regarding the stability of our structure. He made a few recommendations, one was to include more beams in the balcony, another was to include some diagonal supports, and another was some tension cable.
The diagonal supports, or Trusses, have always been part of the design. With the structure of the building exposed it will be easy to add these later as their main function is support in high winds and earthquakes, preventing lateral movement.
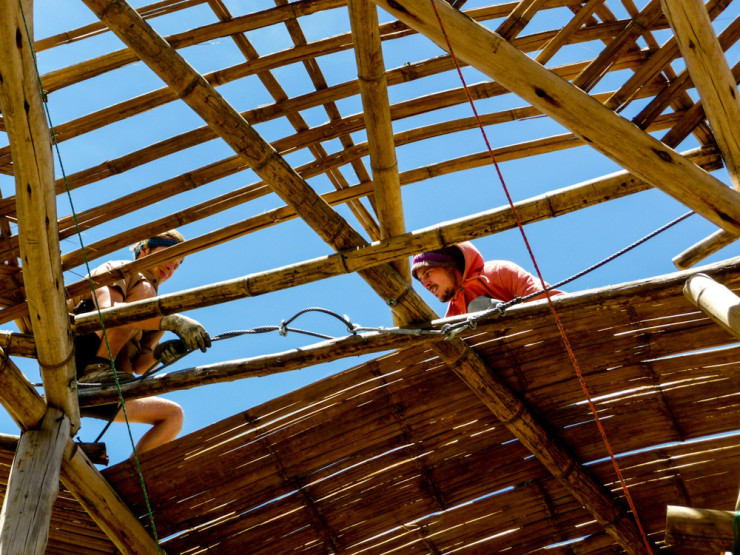
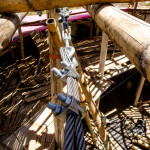
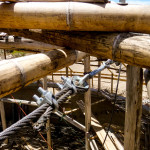
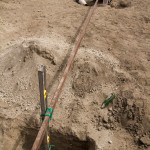
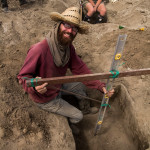
The tension cable however is something we did right away. My understanding is that reciprocal roofs only create downwards force, rather than pushing laterally on the columns. But if anything was going to move, it would most likely be that the columns would be forced outwards or that the connections with the beams would break. For this reason we installed two tension cables. One circle through holes in the ends of the beams, and one circle through holes in the tops of the columns. With two 1/2″ tension cables there is no way the circle can get any bigger.
We also wrapped galvanised steel wire around the beams and columns on either side of the cable to prevent the cable from splitting the wood. Finally we added a cable clamp on either side of the beam (or column) to stop it from sliding along the cable.
The spiraling outer roof is held up by 3 parallel beams, 1 on top of the outer wall, one attached to the columns above the concrete bond beam, and one in-between (where the span is over 4m). This ‘in-between beam’ will be held up by a line (well, spiral) of cypress columns. We rescued these columns from the side of the road in the local town.
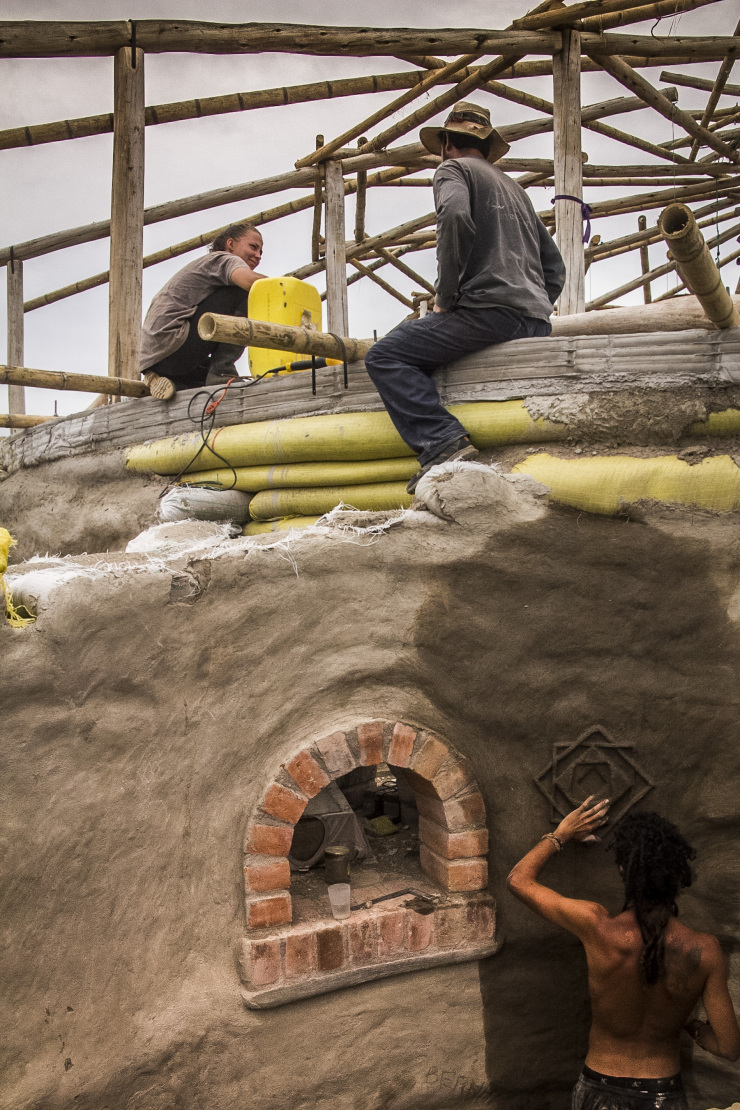
To connect the bases of both sets of outer reciprocal beams (eucalyptus and bamboo) to the bond beam. Oh and some adobe artwork from Oscar.
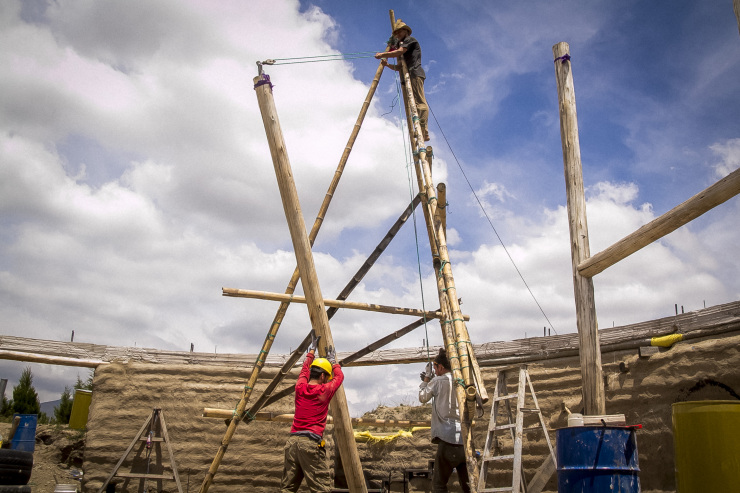
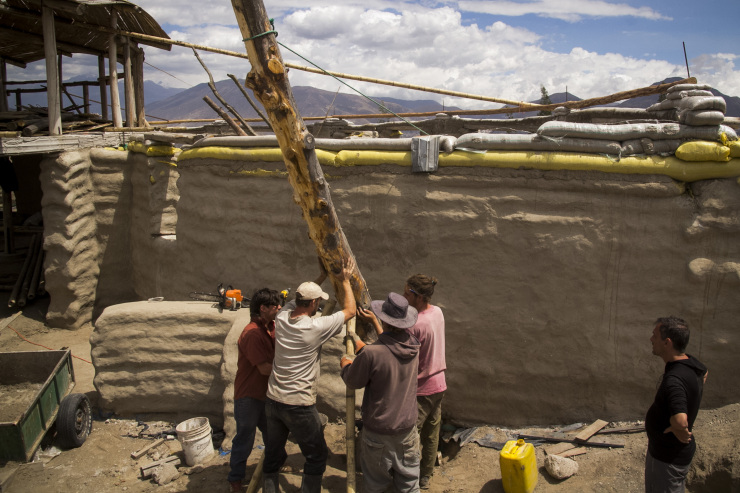
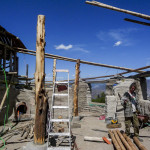
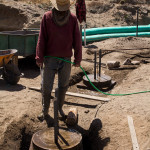
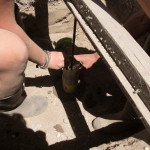
We built a 7m high bamboo tripod and used a multiplier pulley to raise our columns, here’s a photo of the third going up. This made the process so easy that we could raise the column, level vertically with a plumb line, scribe a level line at the base using the concrete pedestal as a guide, and lower it again to chainsaw the bottom level. We also put a thin concrete latex slurry under each column, this was concrete with a PVA additive to create a waterproof membrane, preventing wicking and rising damp, whilst also reducing cracking.
The 2 flat steel bars protruding from the concrete were strong enough to hold the column in place whilst we moved the tripod and fitted the first beam, more on beams later.
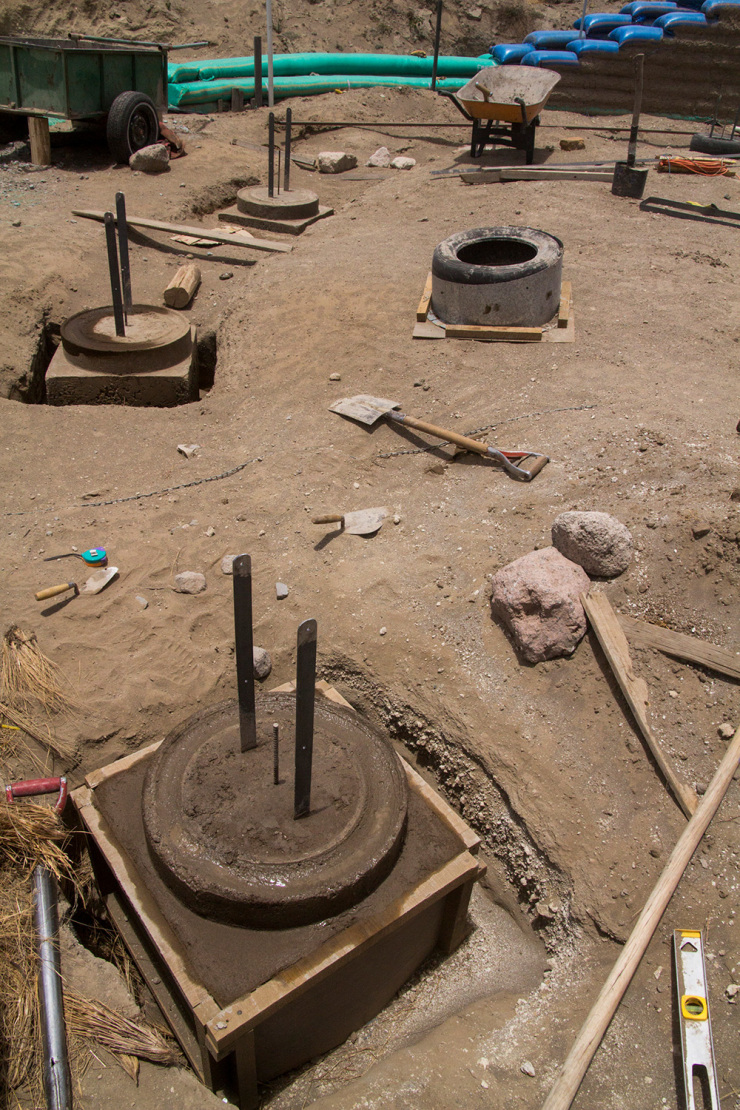
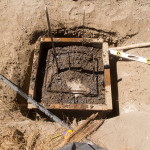
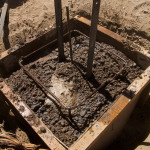
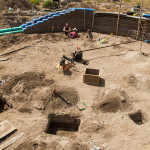
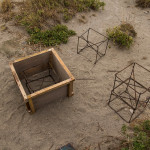
After pounding boulders into the bases of the holes, leveling the box forms and positioning the rebar cages, we started pouring concrete; lots of it. We decided to go with a weaker mix of 1:3:6 (cement:sand:gravel) for the concrete in the box form, because we’re looking for weight rather than strength and we don’t want to use more cement than necessary. For the circular pedestal on top we used a stronger mix of 1:2:3. You can also see in the photos two flat iron tabs, these will be bolted to the columns to add some lateral strength. Although most of the strength will come from the structure above, these will help reduce problems during construction.
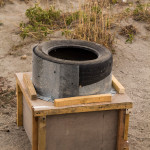
The final job was to keep the whole thing wet, spraying them down every hours or so in order to cure the concrete. The circular pedestal form we used was made from an old tire, which left an indented moat around the top of the pedestal, this was a happy accident as it kept the concrete wet lot longer and helped cure the concrete.
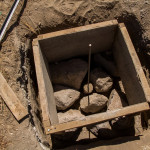
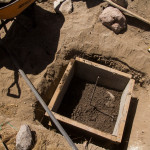

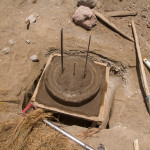
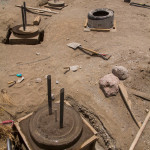
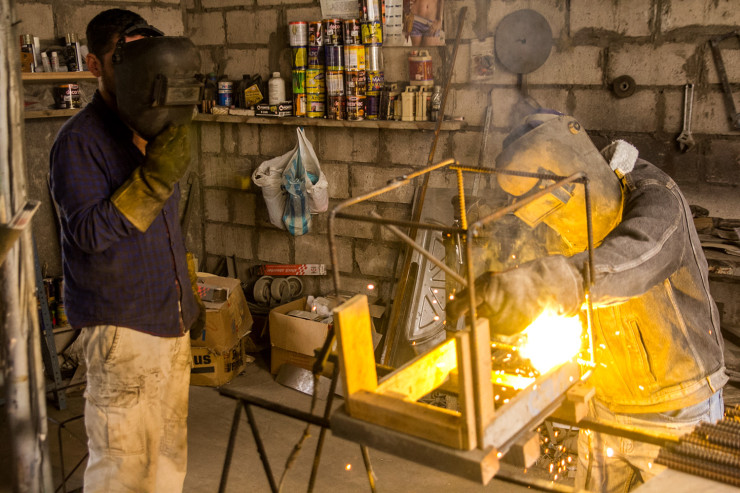
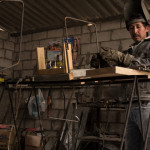
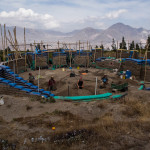
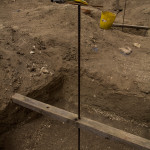
We’re going to be raising the 12 main columns soon, but first there were some preparations needed. Digging holes, bending and welding reinforcement rebar, building box and pedestal forms, measuring and leveling. We decided to concrete 12 pieces of rebar in position to start with, like mini columns, these will be used as reference points to position the box forms and will eventually stick out of the foundation block and into the bottom of each column. Each bar had to be exactly 5m from the centre of the circle and 2.59m from each other. Needless to say we we’re very happy when we reached the final bar and it measured exactly 2.59 from the first.
Pronto levantaremos las 12 columnas principales, pero primero hay algunos preparativos necesarios. Cavar hoyos, doblar y soldar varillas, medir y nivelar.


© 2026 Another Bag in the Wall | Theme by Eleven Themes