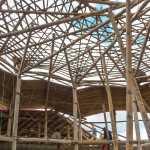
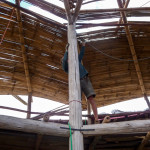
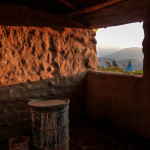
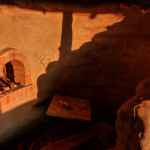
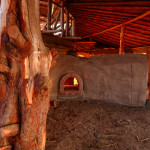
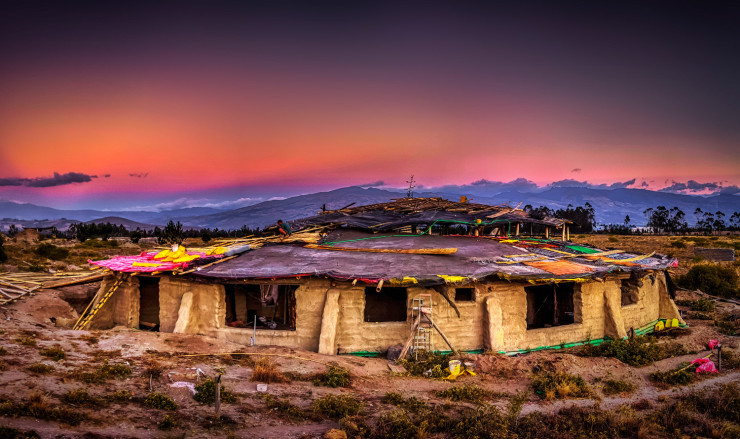
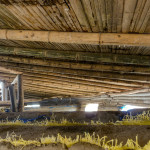
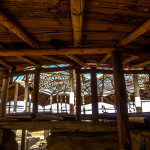
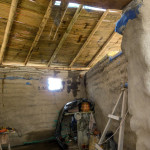
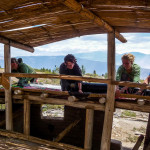
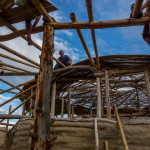
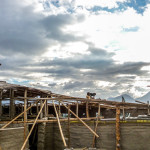
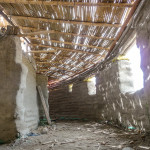
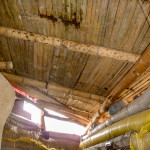
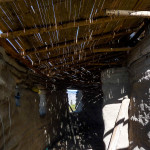
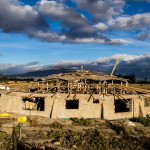
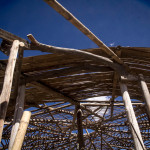
I won’t post too many photos of the same things, so to mix it up a little here are some nice shots of the late afternoon sun pouring through the windows, its great to finally have a roof. We also drilled more holes in the tops of the columns to add the 2nd ring of tension cable, the first was through the bottoms of the reciprocal beams.
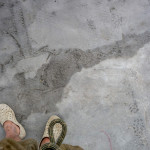


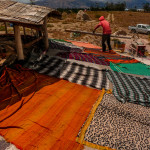
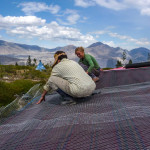
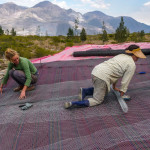
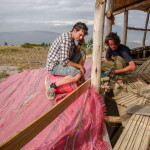
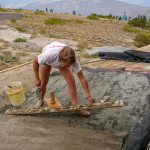
Its Friday, and it was a long week of Ferrocementing. Some hairline cracks appeared in places, but nothing to be worried about. They will be filled when the polish coat goes on.
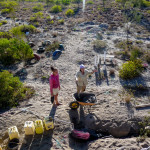
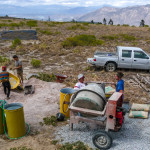
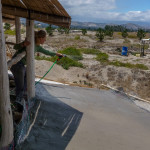
The water problems continue, its not easy keeping all that concrete wet and curing nicely when the water comes in a 3/4″ pipe. Hopefully the new addition of extra tanks and a sprinkler will make it easier. We also dug channels around the building and lined them with plastic to make temporary gutters. This way we can recycle the water using the pump.

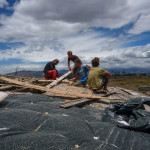
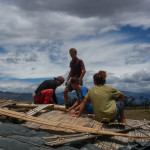
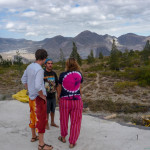
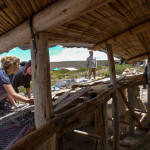
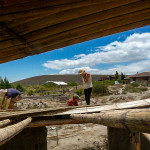
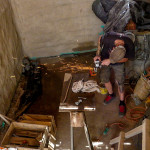
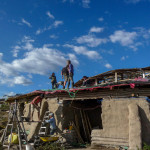
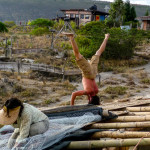
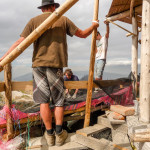
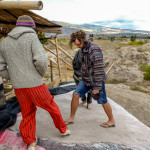
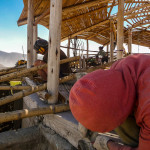
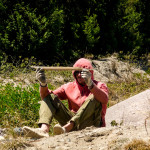
All hands on deck
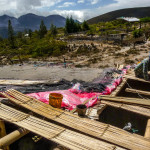
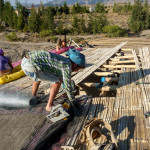
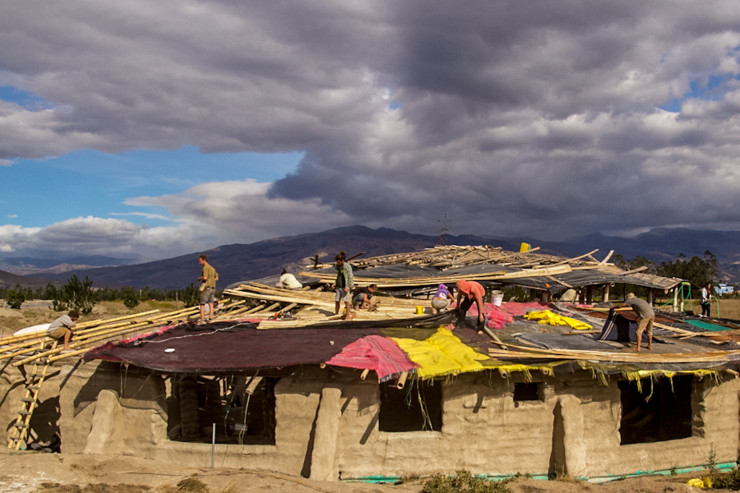
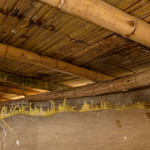
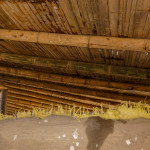
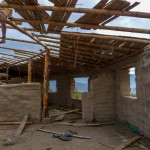
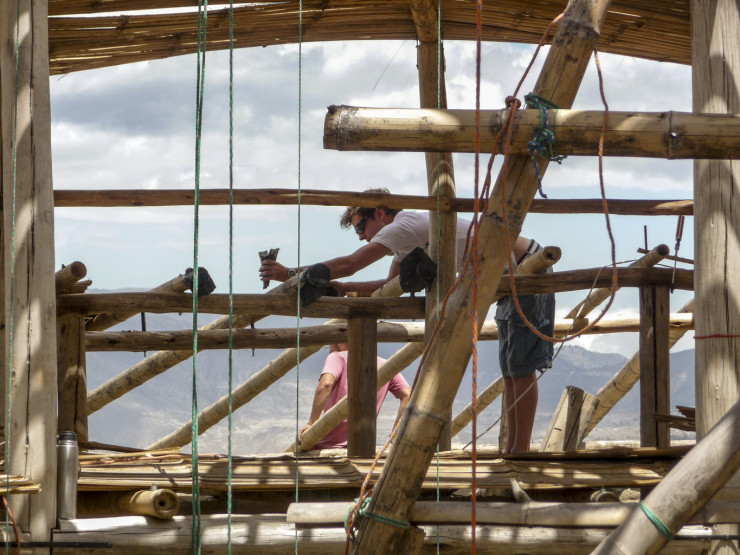
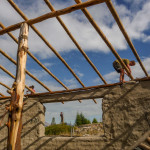
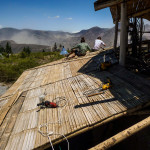
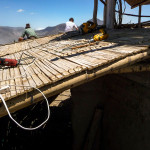
More of the same today, beams, cladding and ferrocement later in the afternoon. We also started stapling plastic onto the reciprocal roof. Some of the cladding on the arches had quite large gaps, meaning that the red bag material we had been using would have been visible from beneath, so we used black plastic instead.
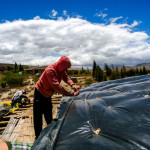


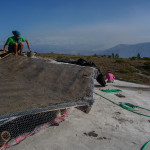
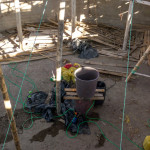
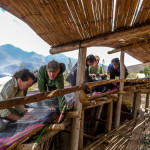
The 2nd day of ferrocement was a little less frantic. We organised things a little better, weighted the blankets to stop them blowing away, received bamboo and sand deliveries, and continued with the beams. We did some ferrocement later in the day after the midday sun had passed. Cement should be kept wet for as long as possible to increase its strength, so it was a bit stressful watching it dry, especially when water is so precious up in the deserted mountains.
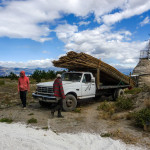

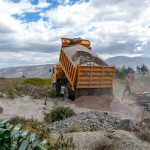


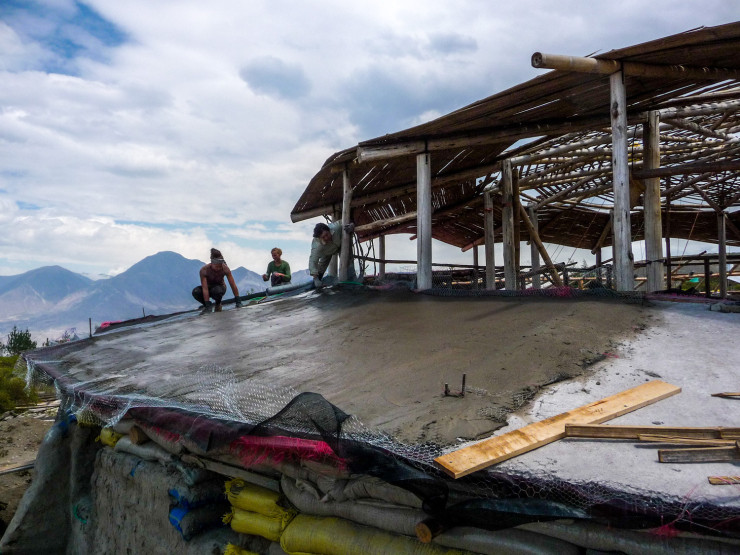
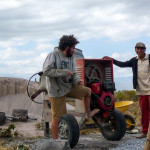
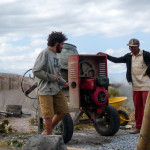
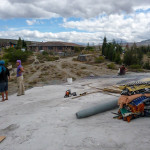
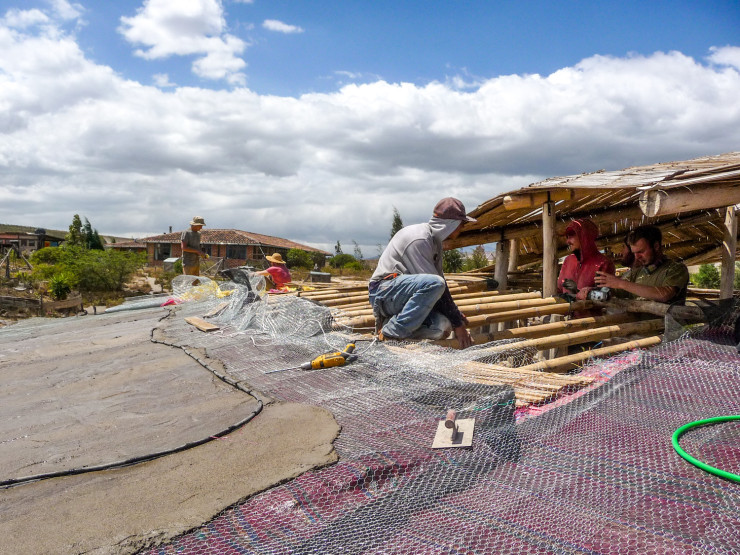
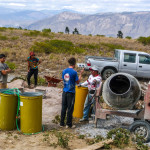
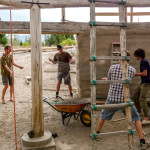
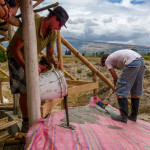
We hired the cement mixer for a week to complete the ferrocement covering of the Spiral Roof. Instead of our normal 5 hours days, our sore team worked 9 hour days to make the most of the mixer, we were taken off the meal rota to compensate. We also had help from the entire community, who came down at different times of the day to help.
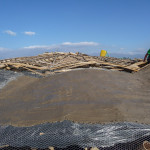
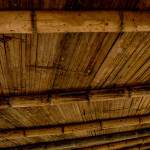
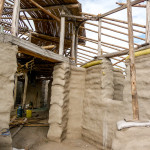
Laying the concrete was so quick that we had to turn off the mixer and allocate more people t installing beams and split bamboo. The process of drilling holes, filling the nodes with concrete, nailing in the cladding, stapling multiple layers of mesh and wire took quite a while. In two weeks we went from open air to fully enclosed, lacking only the polish coat to the ferrocemtn which will be added later.
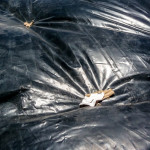
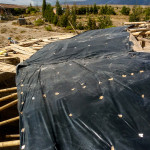
The biggest challenge by far was curing the concrete. Laying thin concrete in harsh sun and wind is not advisable, we would have happily worked at night but not everyone liked the idea of becoming nocturnal. Instead we covered the concrete with every blanket we could find, and installed drip irrigation to keep it all wet. More on this later.

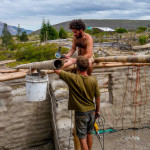
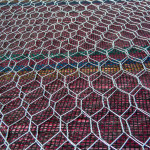
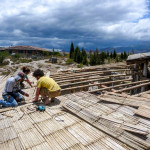
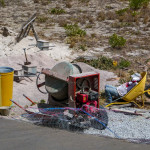

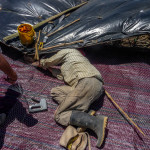
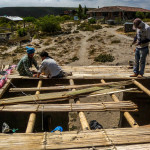
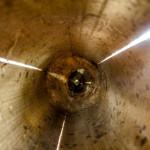
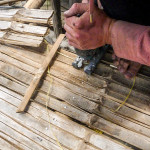
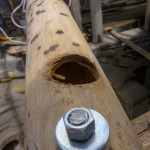
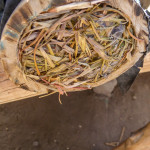
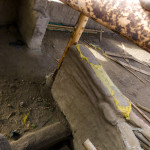
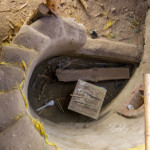
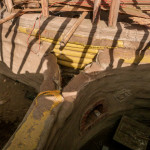
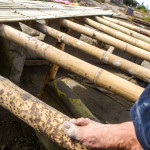
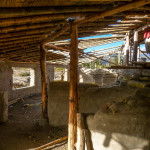
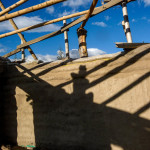
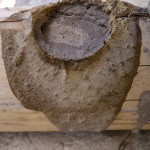
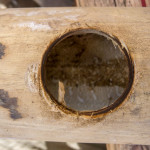
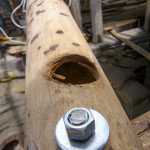
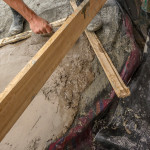
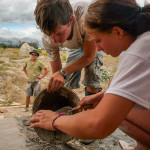
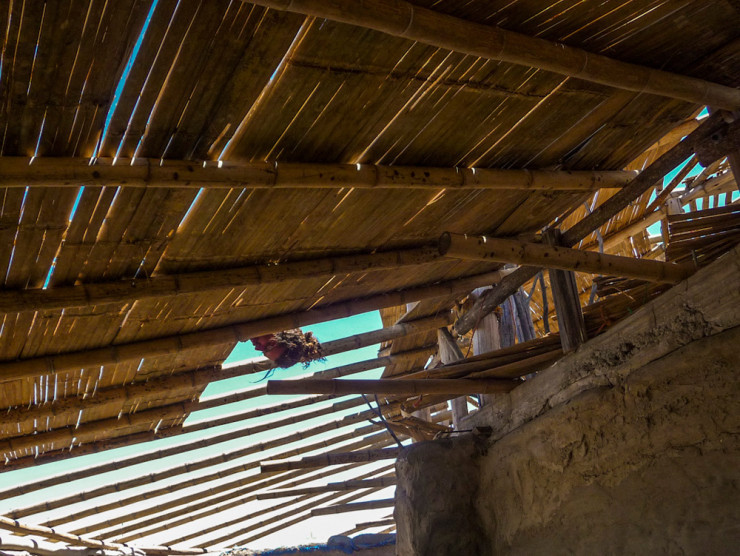
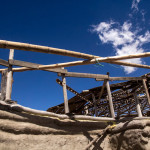
Bamboo usually breaks around the connection points, because the hole weakens the structure and being hollow it can just bend in half like a straw. To solve this problem we used a technique developed by Colombian Architect, Simón Vélez. It involves first bolting the bamboo, then drilling a hole next to the bolt and filling the entire node with concrete. We used a fairly watery mix to help it fill quicker, and vibrated the bamboo by tapping it to help it fill the space.
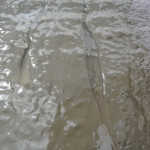
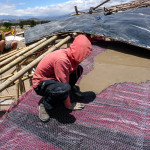
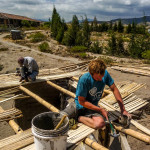
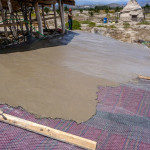
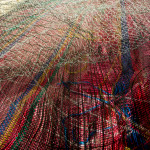
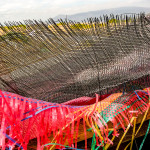
Before bringing in the cement mixer we decided to mix some concrete by hand to practice the process. We put the ferrocement on the smallest part of the roof. First we painted on a concrete milk, the idea was to completely encapsulate the nylon shade cloth in the bottom 1mm of concrete. This meant that we couldn’t put on the nylon or chicken wire until the mixing had begun, which would have made the whole process quite rushed on the day the mixer came. We decided that the concrete would likely seep through the gaps in the nylon anyway so the milk wasn’t necessary. This meant that we could prepare the nylon and chicken wire before mixing the concrete, so that pouring would be much easier.
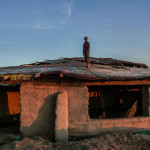
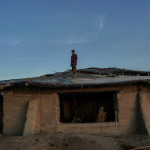
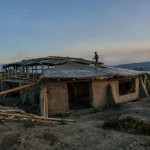
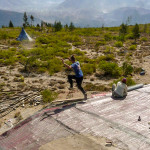
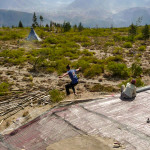
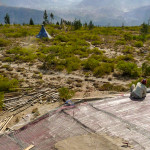
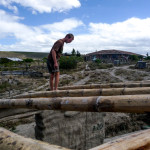
We cured the concrete for three days by keeping it wet, and then jumped on it! This is the smallest roof section so its not a true test, but so far so good.
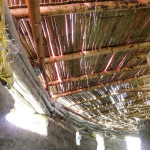

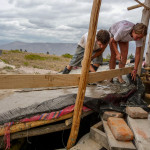

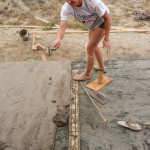
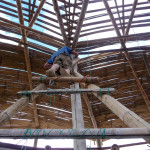
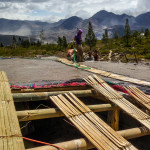
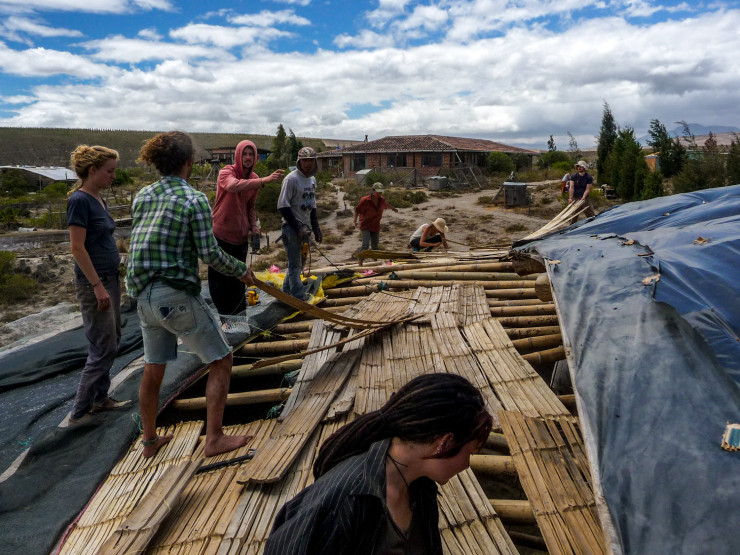
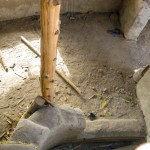
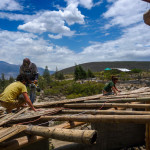
We started nailing the split bamboo onto the beams. We should have hired a nail gun.

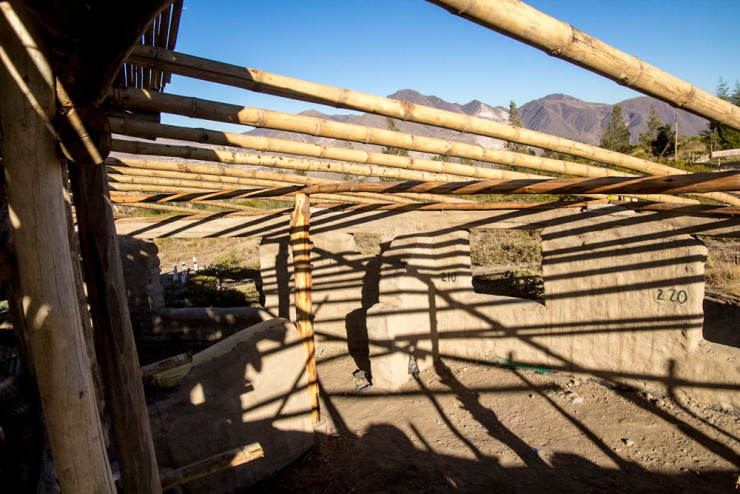
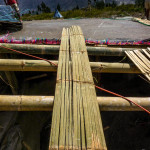
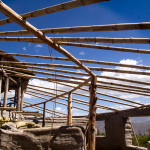
Things are starting to take shape now that the bamboo beams are in place. They are first bolted to the 3 parallel beams, then the space around the bolt is filled with concrete to strengthen the connection. More to come on this in a later post.

© 2026 Another Bag in the Wall | Theme by Eleven Themes