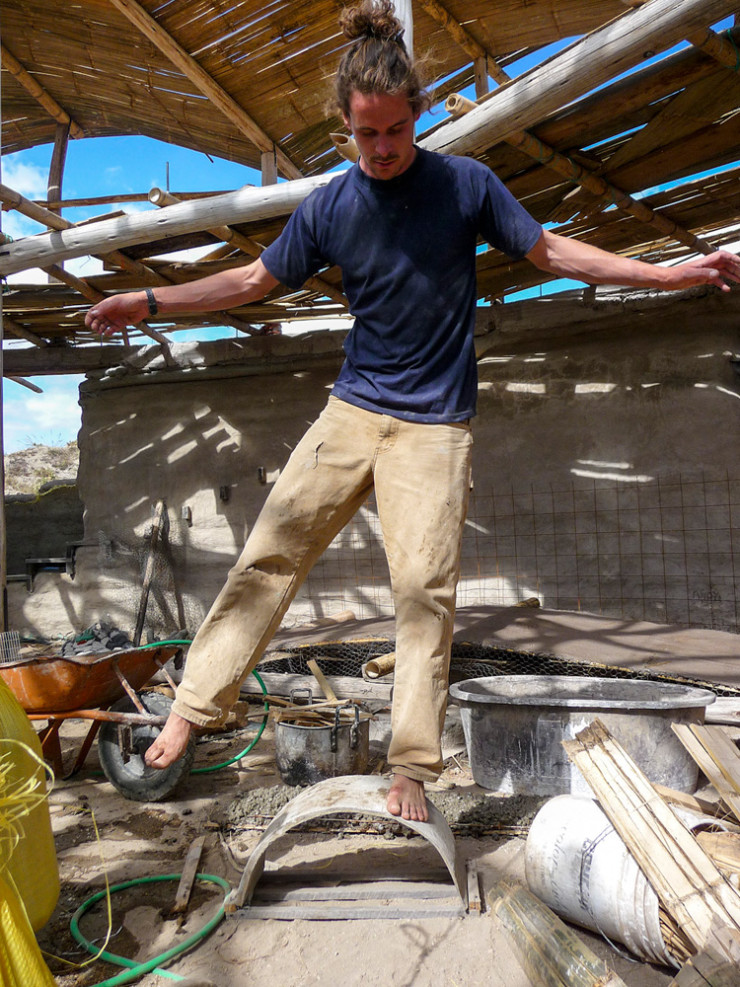
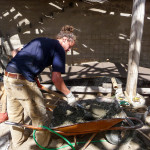
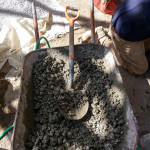
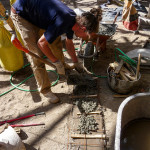
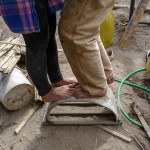
We’re going to use ferrocement for the roof. The original plan, (for the past 18 months) was to try Latex Cement. This was pioneered by George Nez, it’s modified reinforced concrete, and its only 1cm thick. In their examples the they use a hyper parabolic shape which takes much of the force to the beams, but its still extremely strong. They use 2 layers of fibreglass mesh (flyscreen gridded mesh not fibreglass matt) for reinforcement and 1cm of latex modified cement. When the book was published it was recommended to use a styrene-butadine additive, the same stuff they make car tyres with (and chewing gum). But recent studies by William Seth Carleton (2013) show that a powder based Acrylic additive is superior in terms of strength, UV resistance and toxicity, whilst being far easier to work with. Well, we could only find the styrene-butadine additive in Ecuador, and it was going to cost around $2000. So we started looking for alternatives. We tested a few types of latex whilst researching the options, the arch in the photo is made using two layers of fibreglass mesh, PVA modified cement and sawdust as an aggregate. PVA isnt recommended as its water soluble even after drying, and the saw dust probably isnt a good idea either. That said it was strong! It held my weight even when I wasn’t standing on the top of the arch. It held two of us for about 5 seconds before breaking.
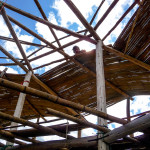
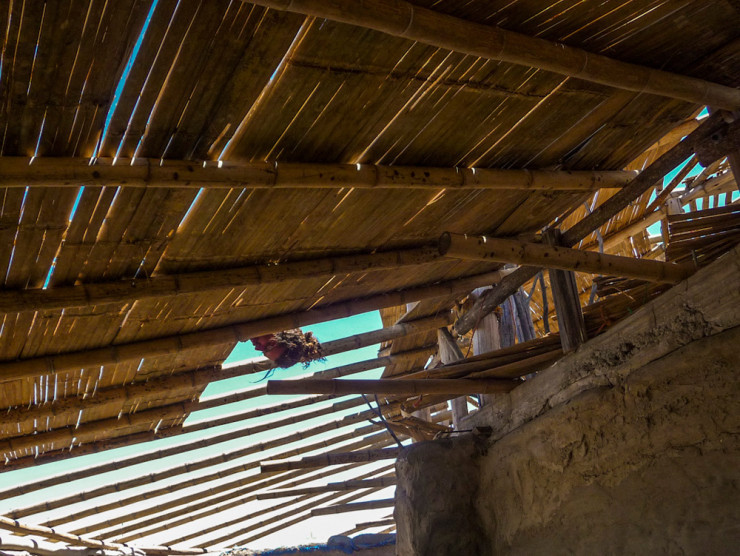
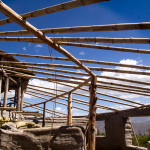
Ferrocement is a technique first developed for boat building, a strong rebar form is covered with multiple layers of chickenwire and around 3cm of cement. Its very strong. Our form will be permanent, cladding of split bamboo, which is incredibly strong in tensile strength. For this reason we decided not to use thick rebar in the recipe.
Our structure consists of:
- Bamboo beams
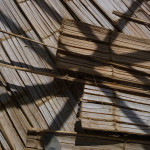
- Split bamboo cladding
- Reused polypropylene bags to stop the mix falling through the gaps in the bamboo)
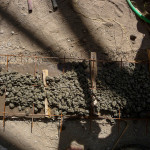
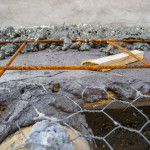
- Nylon shade cloth – reinforcement in the bottom mm of cement, prevents hairline cracks (see meshcrete)
- Chicken wire
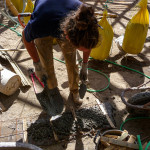
- 2-3cm cement – 3:1 sand:cement
- 0.5 cememt polish coat – 2:1 fine sand:cement
For any of the more structural elements, like the shallow arches on the hall roof, we will also add a layer of PumiceCrete. This is a technique we learnt from Steve Kornher’s website, its more or less the same recipe as above but with an additional layer of driveway mesh (10cmx10cm spaced welded rebar mesh) and 10cm of pumicecrete. The pumicecrete is simply pumice (presoaked in water) and portland cement to a ratio of 8:1. No sand necessary. A final polish coat is then applied to waterproof. When pouring fresh concrete on top of old, he recommends wetting the old and painting on a cement milk to glue the two layers together. This is just cement and water to a creamy consistency.

-
- Luke & Feli’s Photo
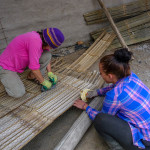
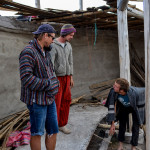
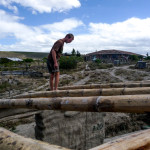
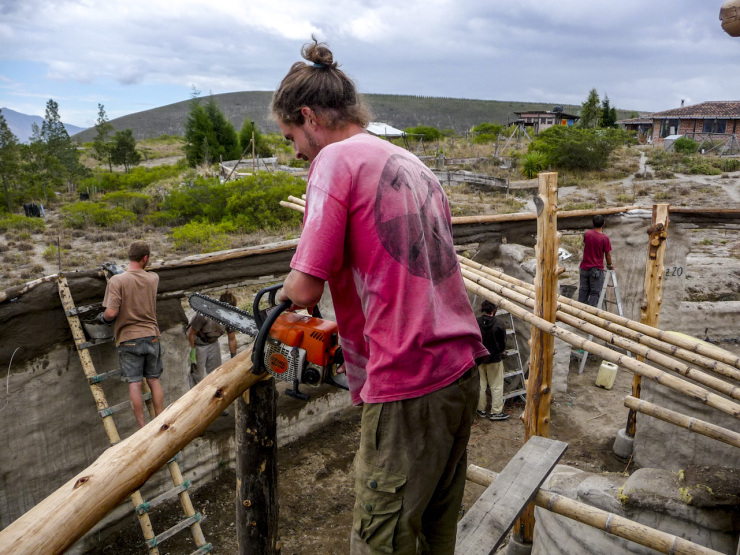
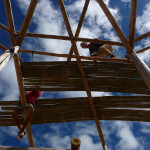
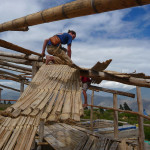
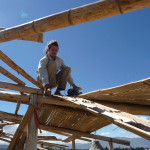
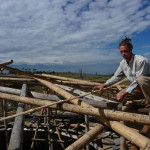
We started nailing the split bamboo onto the beams. We should have hired a nail gun.

Things are starting to take shape now that the bamboo beams are in place. They are first bolted to the 3 parallel beams, then the space around the bolt is filled with concrete to strengthen the connection. More to come on this in a later post.
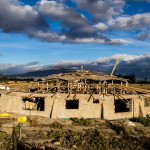
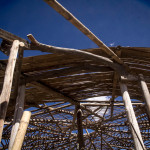

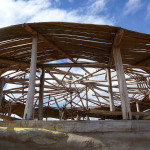
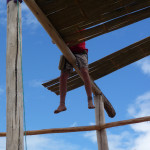
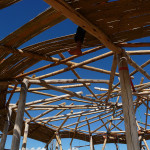
In the centres of each room is now a column, the next job was to make a beam across the tops of these columns, the middle parallel beam, well, the middle spiralling beam.
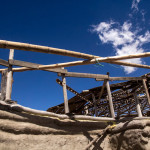
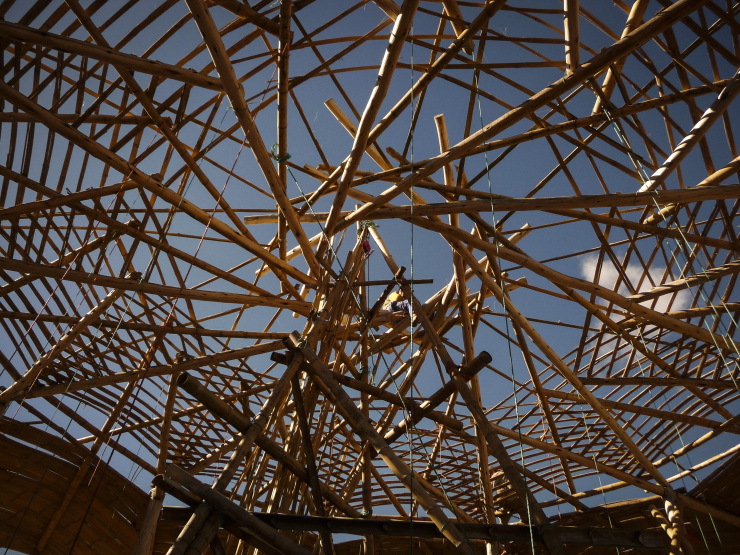
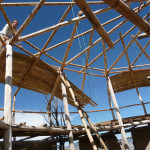
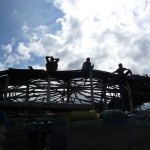
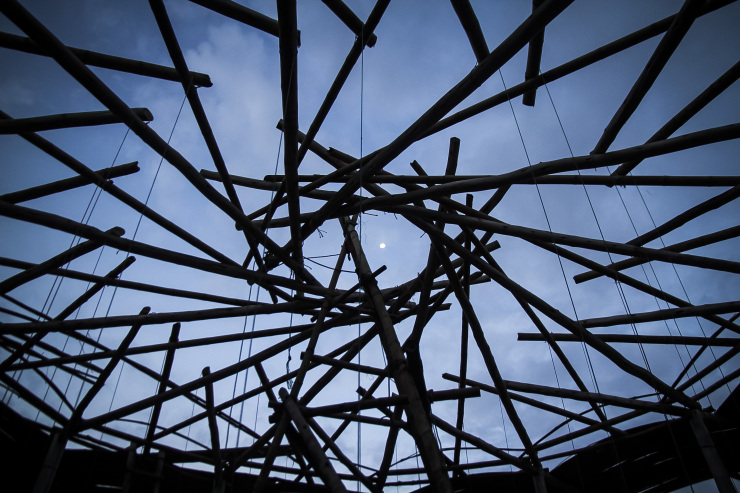
The spiraling outer roof is held up by 3 parallel beams, 1 on top of the outer wall, one attached to the columns above the concrete bond beam, and one in-between (where the span is over 4m). This ‘in-between beam’ will be held up by a line (well, spiral) of cypress columns. We rescued these columns from the side of the road in the local town.
The top beam is bolted to the 24 columns above the bond beam. We didn’t want the weight of the roof to rest on the bolts alone so we added some additional columns to each beam, taking the weight directly into the concrete bond beam.
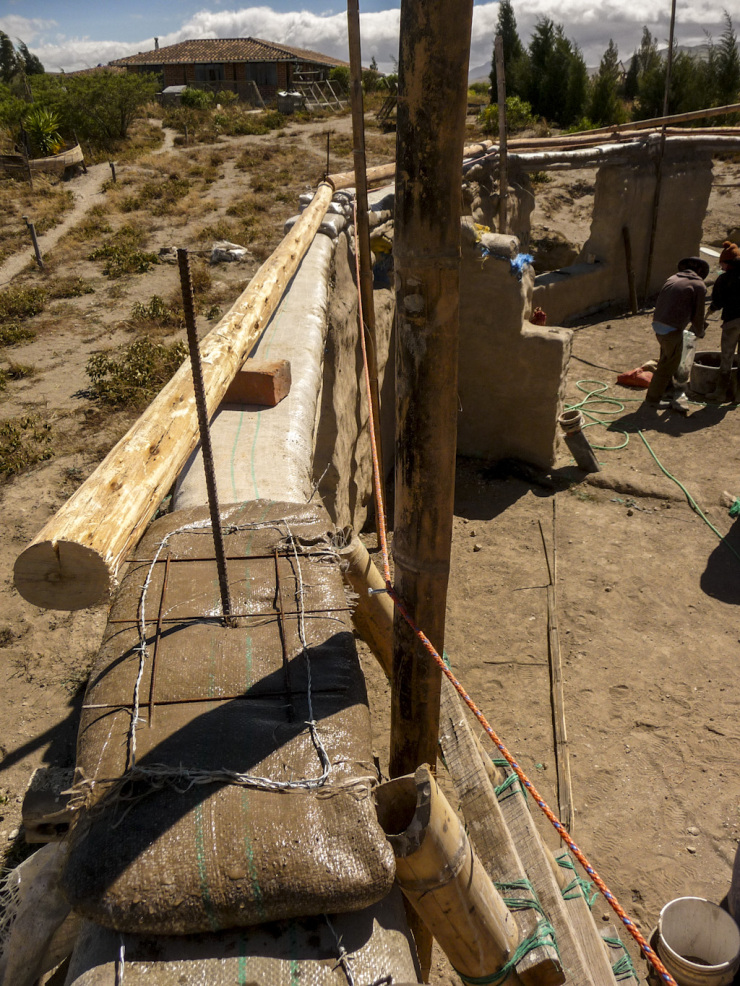
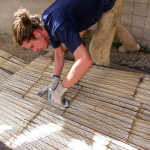
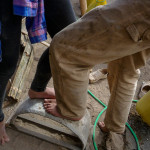
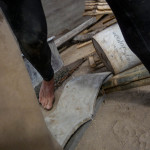
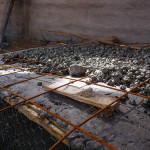
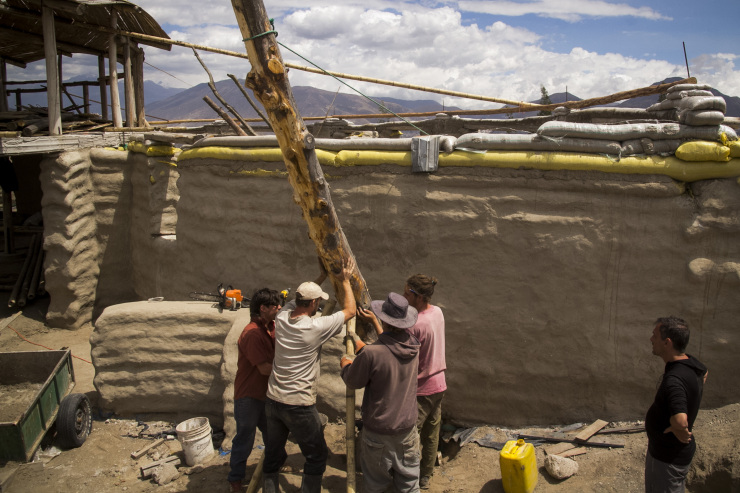
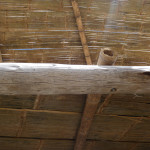
For the circular hall we poured a reinforced concrete bond beam on top of the walls. Its the strongest method and allowed us to add connection points for the 24 columns that sat on top. For the outer wall this seemed like overkill. The function of the bond beam firstly to tie the walls together, and secondly to allow for connection points to stop the roof lifting off. We decided that the outer wall is strong enough thanks to the curved wall and additional buttressing, so we just needed a roof connection. Multiple 5m wooden beams were attached to the top of the wall using concrete foundation bags (pictured), two bags with reinforcement between and rebar driven down into the wall. The roof beams will be bolted down to this wooden beam.
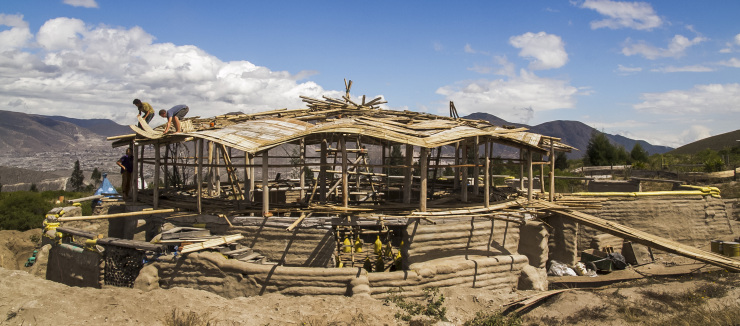
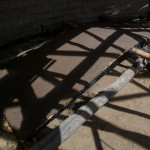
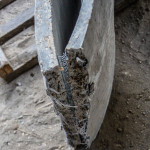
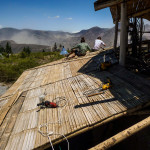
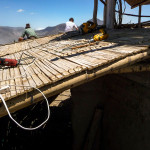
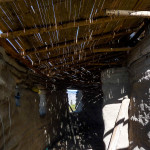
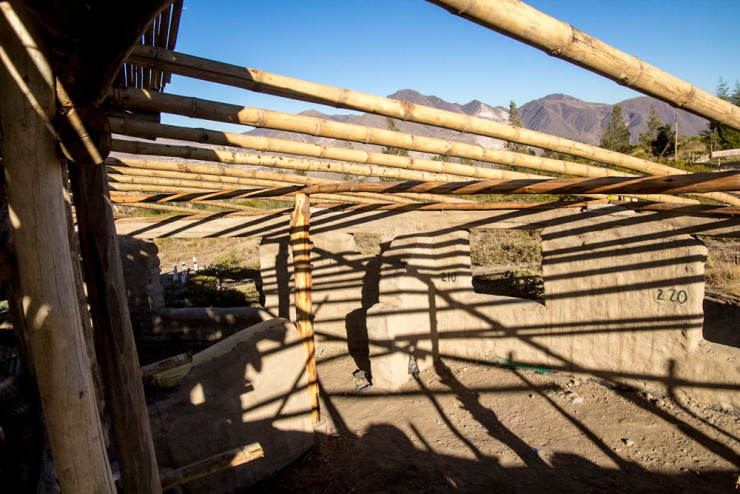
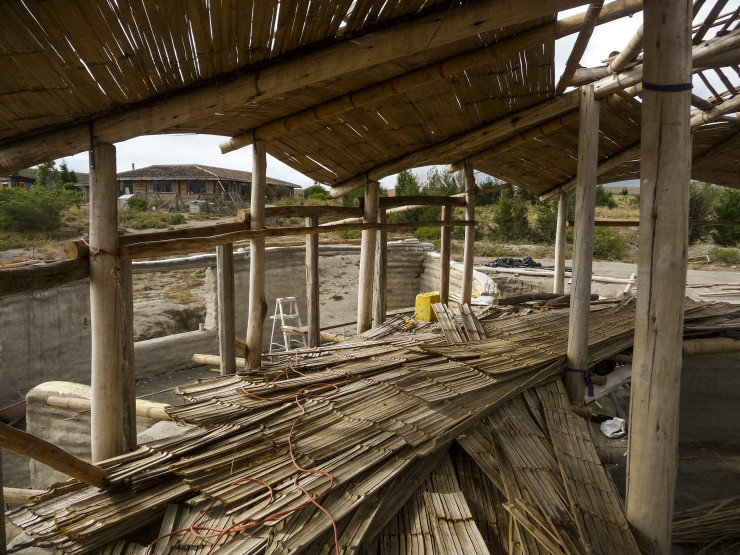
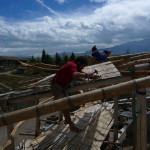
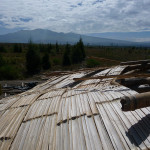
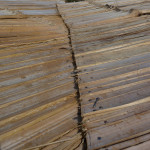
Split/ open bamboo (guadua) was bent over the bamboo beams onto the eucalyptus beams to create 12 shallow barrel arches. Next we’ll be putting a layer of ferro-cement and light weight pumice concrete, so the arch shape ensures the concrete is in a compressive shape. Although the arches are far too shallow to function independently of the underlying structure, the shape is still desirable over a flat span.


© 2026 Another Bag in the Wall | Theme by Eleven Themes