
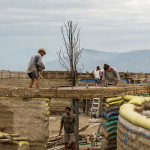
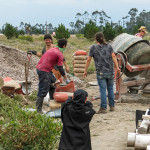
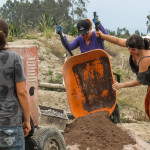
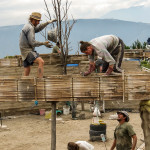
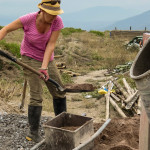
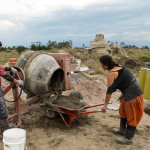
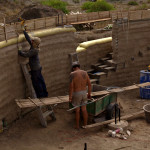
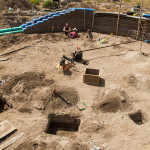
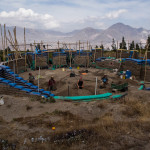
The whole community came down to site for a full day of concrete mixing, and we were lucky enough to have clouds for once. It was very well disorganized but everybody found something to do. we started with two groups of 2 on ladders at one side of the circle (we only have 4 ladders) and went in opposite directions around the circle until we met up again 8 hours later. The bamboo box held up very well, and although it was tedious to build, the fact that it wasn’t rigid meant that we could shake, tap and vibrate it to help tamp the concrete easily.
We even had time at the end of the day to lay a concrete sub floor in the storage room, which will come in very handy later when leveling, marking and cutting the wooden beams. We rushed a little but its more or less level (it was dark when we finished).
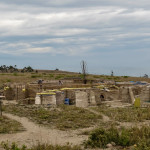


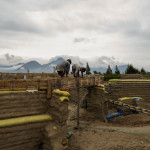


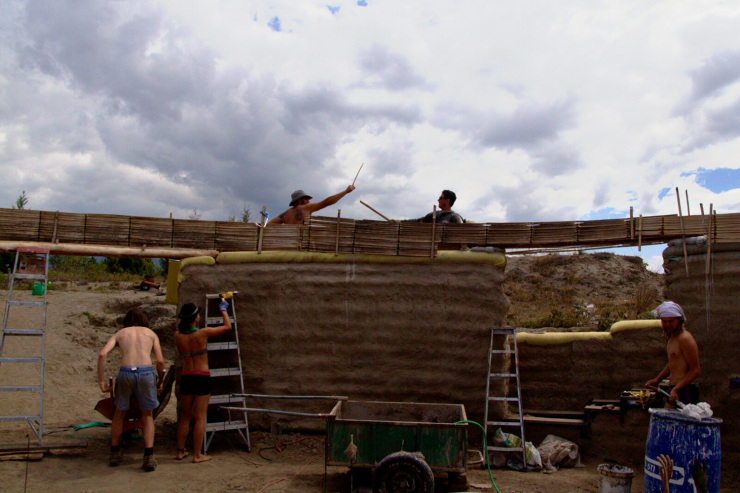
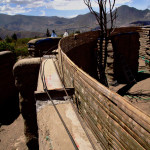
Building codes state that before we go any higher with the walls we must create a continuous bond beam or ring beam to tie all the walls together. Although there are many ways to achieve this, with wood or filling earthbags with concrete, etc, we decided to go with the conventional technique, a cast-in-situ constant concrete beam. Although its perhaps not as environmentally friendly as a wooden bond beam, we decided that a poured concrete beam would be cheaper, which might not have been the case in hindsight. With this method the bond beam also doubled up as lintels over the doors, and allowed us to mount J-bolts and flat iron connection points for the post and beam structure above.
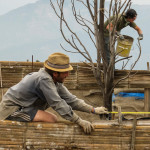
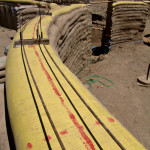
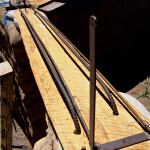
We made the form out of split bamboo, the cheap option, but found that we had to connect countless vertical bamboo supports with seemingly thousands of pieces of wire in order to hold it all together; needless to say it took longer than expected. The height of the beam varied in order to use the least possible concrete whilst still having strength over the openings; we made the beam 15cm over the walls and small openings (1m), 20cm over the larger openings (2m) and 30cm over the largest opening (3.6m) with extra reinforcement bars in the small openings and rebar cages in the larger openings. Luckily during the design process we had a chance hitch-hiking encounter with a civil engineer and after half an hour of chatting and fag packet sketches he assured us that we had successfully over engineered our bond beam.
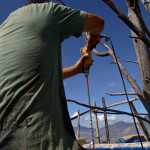
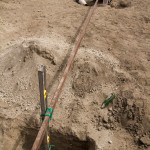
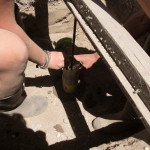
The Earthbag Building Book recommended hammering rebar nails down into the earthbags whilst they were still fresh, but some havn’t been fresh for months now, so to avoid cracking the earth we drilled deep holes, poured in a concrete and pushed in the bars, this seemed to work well and we spaced them every 50cm on a slight angle, going 30cm deep into the bags.
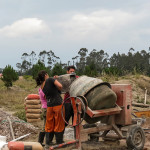
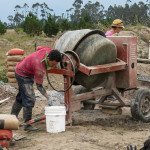
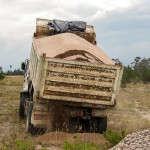
Time to bring in the mixer.
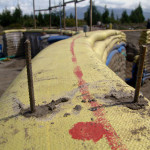
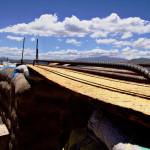
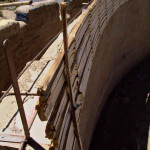


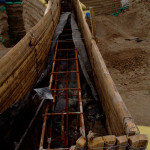
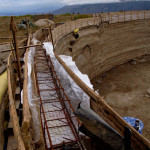
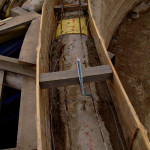
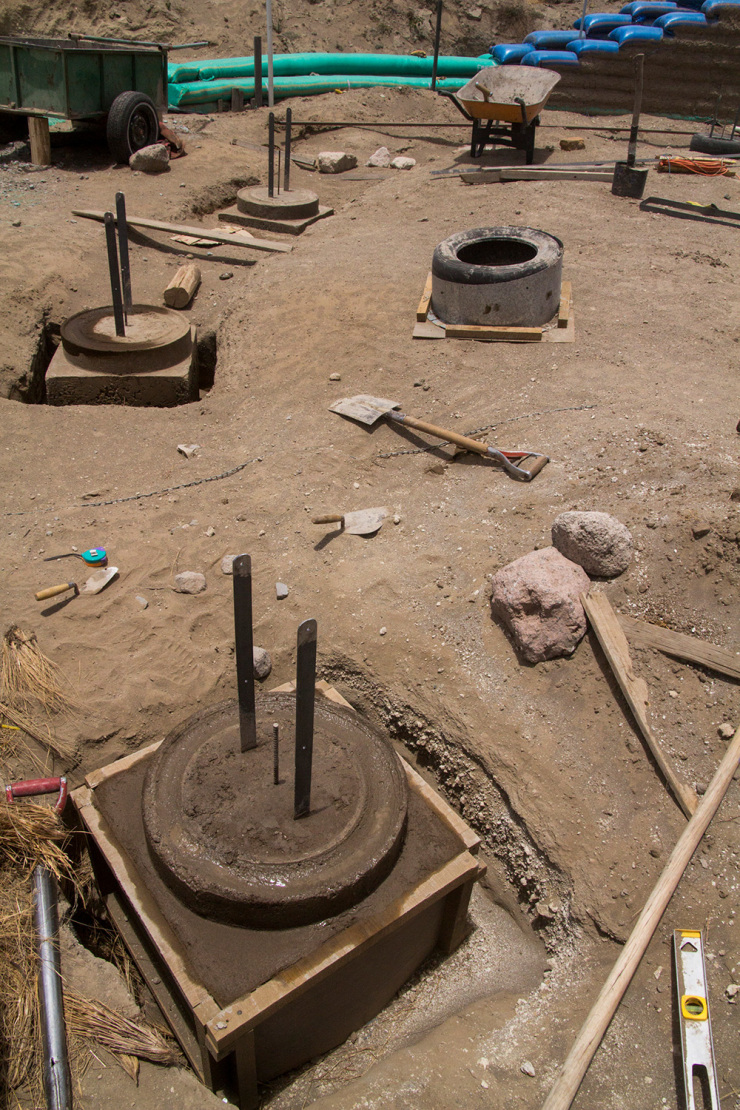
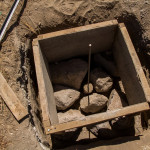
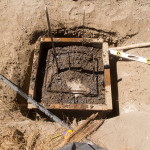
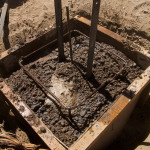
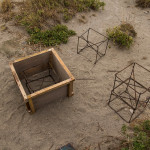
After pounding boulders into the bases of the holes, leveling the box forms and positioning the rebar cages, we started pouring concrete; lots of it. We decided to go with a weaker mix of 1:3:6 (cement:sand:gravel) for the concrete in the box form, because we’re looking for weight rather than strength and we don’t want to use more cement than necessary. For the circular pedestal on top we used a stronger mix of 1:2:3. You can also see in the photos two flat iron tabs, these will be bolted to the columns to add some lateral strength. Although most of the strength will come from the structure above, these will help reduce problems during construction.
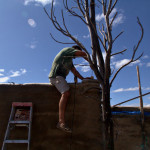
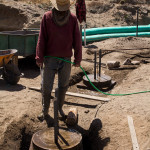
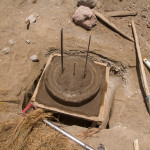
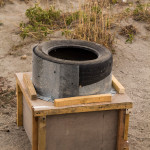
The final job was to keep the whole thing wet, spraying them down every hours or so in order to cure the concrete. The circular pedestal form we used was made from an old tire, which left an indented moat around the top of the pedestal, this was a happy accident as it kept the concrete wet lot longer and helped cure the concrete.
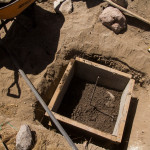

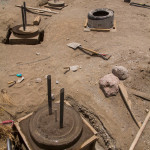
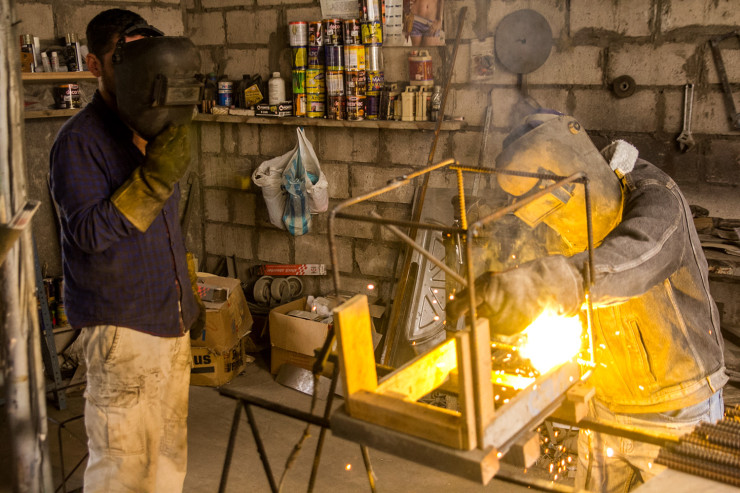
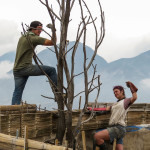
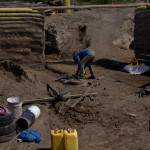
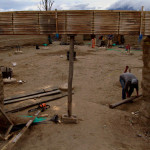
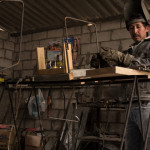
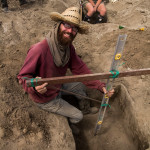
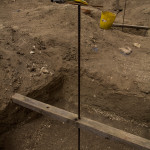
We’re going to be raising the 12 main columns soon, but first there were some preparations needed. Digging holes, bending and welding reinforcement rebar, building box and pedestal forms, measuring and leveling. We decided to concrete 12 pieces of rebar in position to start with, like mini columns, these will be used as reference points to position the box forms and will eventually stick out of the foundation block and into the bottom of each column. Each bar had to be exactly 5m from the centre of the circle and 2.59m from each other. Needless to say we we’re very happy when we reached the final bar and it measured exactly 2.59 from the first.
Pronto levantaremos las 12 columnas principales, pero primero hay algunos preparativos necesarios. Cavar hoyos, doblar y soldar varillas, medir y nivelar.


© 2026 Another Bag in the Wall | Theme by Eleven Themes